


大家清楚axure用中继器制作微博联系人效果的操作步骤吗?下文就是关于axure用中继器制作微博联系人效果的简单操作流程,相信对大家一定会有所帮助的。
1、在页面添加中继器,将中继器的原有格式删除掉,修改为如图所示样子

2、其中有多处小细节需要设置,比如说点击留言图片,跳转至留言界面,点击点赞按钮后隐藏白色点赞图片,显示红色点赞图片

3、在中继器的项目交互中,设置好刚刚每个需要赋值的框对应的中继器表格的值

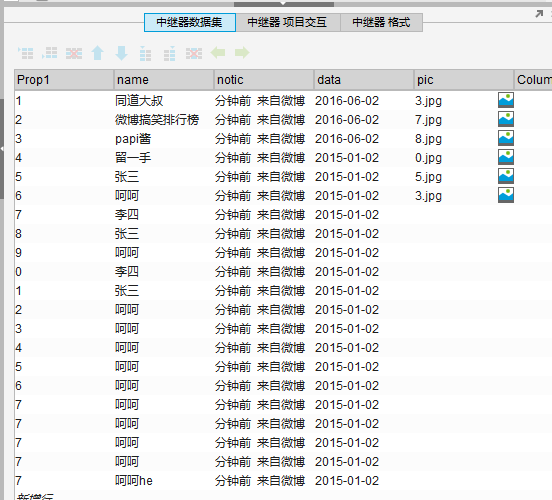
4、在中继器数据集中添加对应的所需数据,当然也可通过算法随机生成数据
5、加载后就能显示出我们想要的效果了

以上就是小编带来的axure用中继器制作微博联系人效果的操作步骤,你们都知道了吗?


")
")


语音转文字!新媒体翻译者都有哪些实时语音转文本工具?")


