

使用photoshop如何制作出电路背景呢?很多新用户还不是很明白,接下来就是小编呈现的使用photoshop制造出电路背景的详细步骤。
在ps软件中 ,新建一个800*8000的图层 前景色为白色 如图所示

在滤镜中 ――渲染――云彩 如图所示

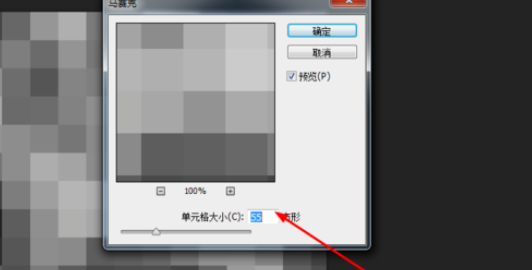
添加滤镜中的马赛克 如图所示
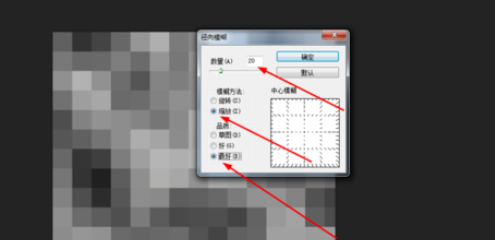
在滤镜中找到径向模糊 如图所示
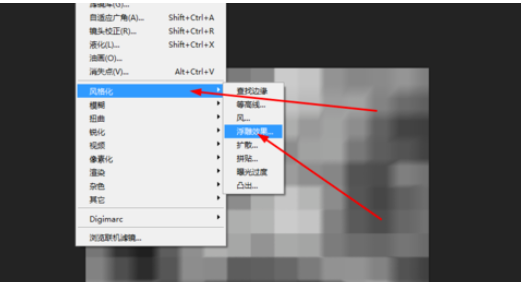
再添加滤镜中的浮雕效果 如图所示

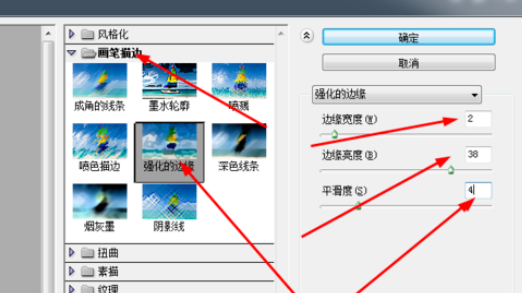
在滤镜库中找到强化边缘 如图所示
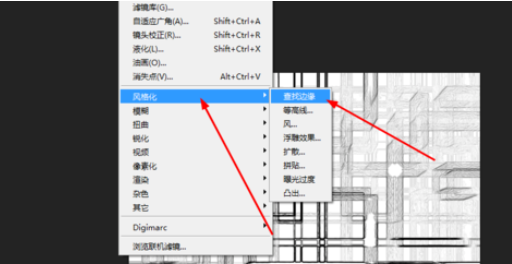
调一下滤镜中查找边缘 ,再到滤镜库中找到照亮边缘 如图所示

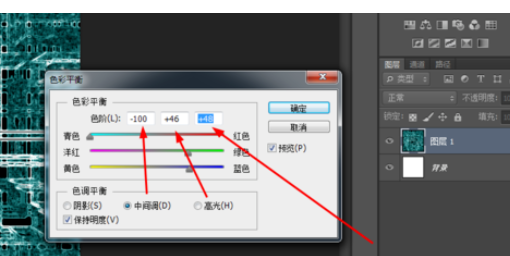
最后用色彩平衡调一下颜色 如图所示

上文就是小编讲解的使用photoshop制造出电路背景的详细步骤,大家都学会了吗?


")
")


语音转文字!新媒体翻译者都有哪些实时语音转文本工具?")


