

vegas大家应该都熟悉,但是大家知道vegas导出视频的操作流程吗?今天小编就分享vegas导出视频的教程,我们一起来看看吧!
1、视频编辑完成后,我们选择我们要输出的时间线区域。

2、点击阮籍上工具栏的“渲染为”,弹出渲染的属性对话框。
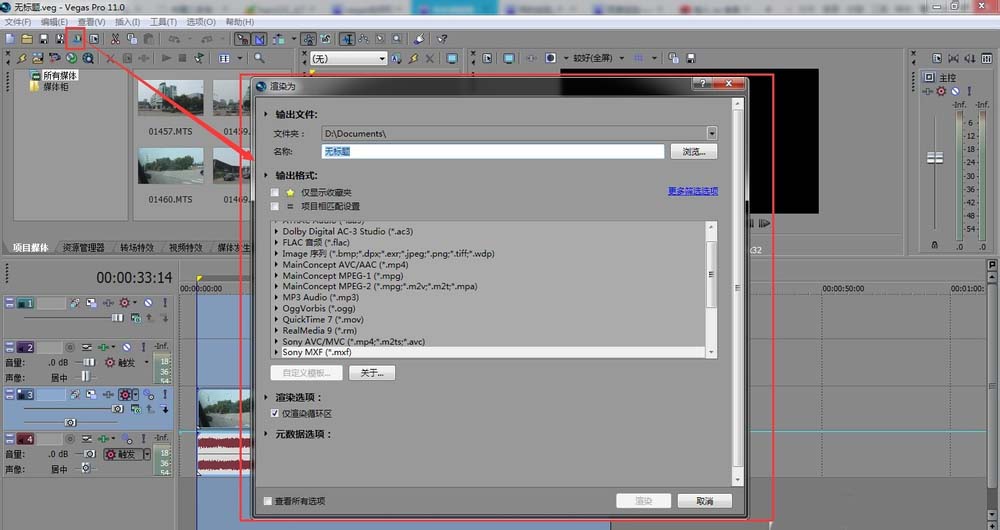
3、在渲染的属性对话框中,我们首先要选择的是:渲染地址和名字
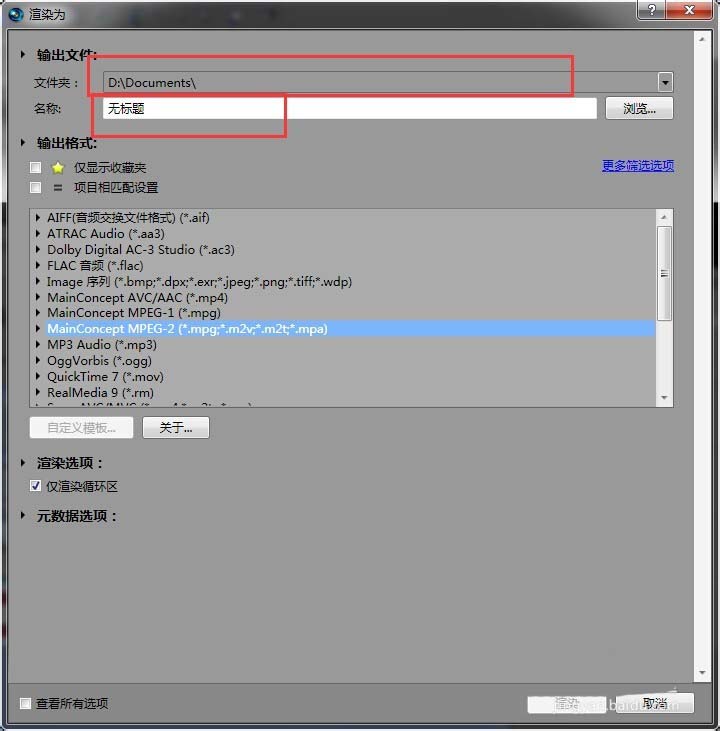
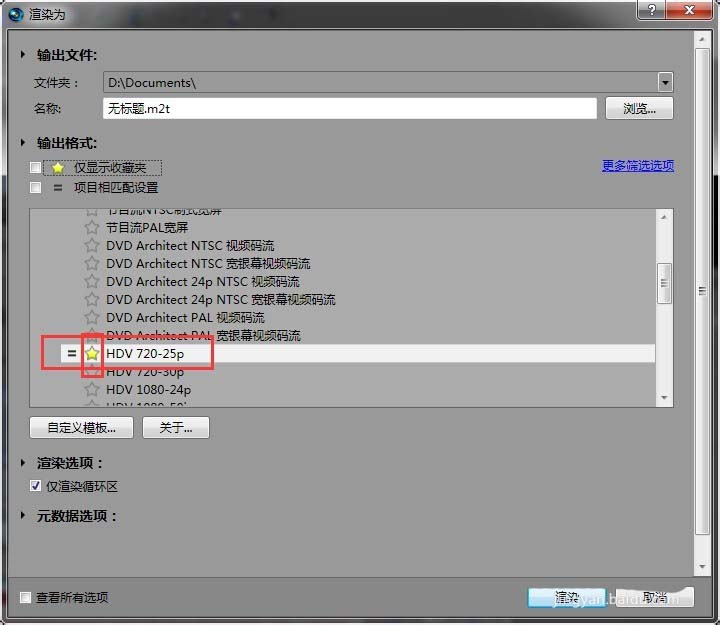
4、在渲染格式的选择上,我们根据视频的属性选择:720P模式的MPG格式。
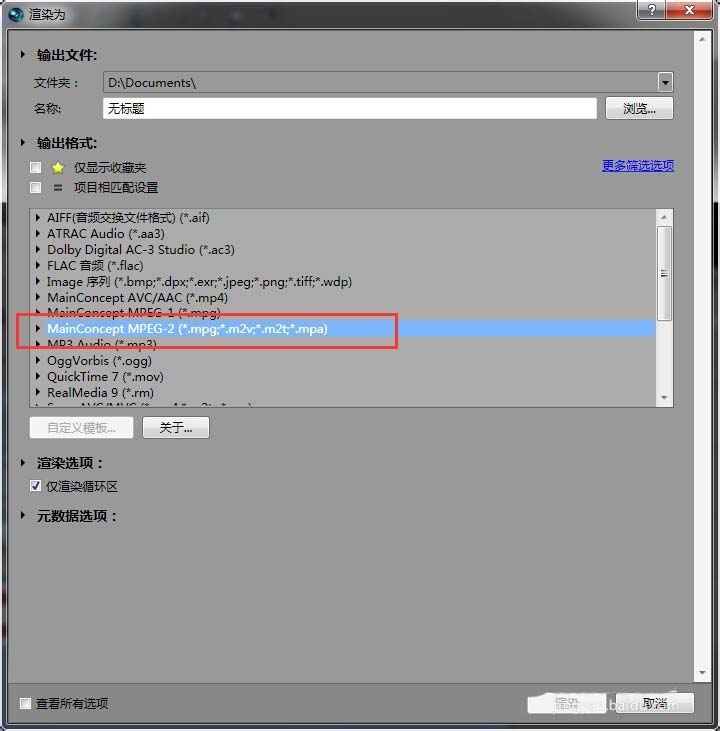
5、我们可以点击渲染模式前面的五角星,把这个我们常用的的渲染格式保存在渲染收藏夹里面。
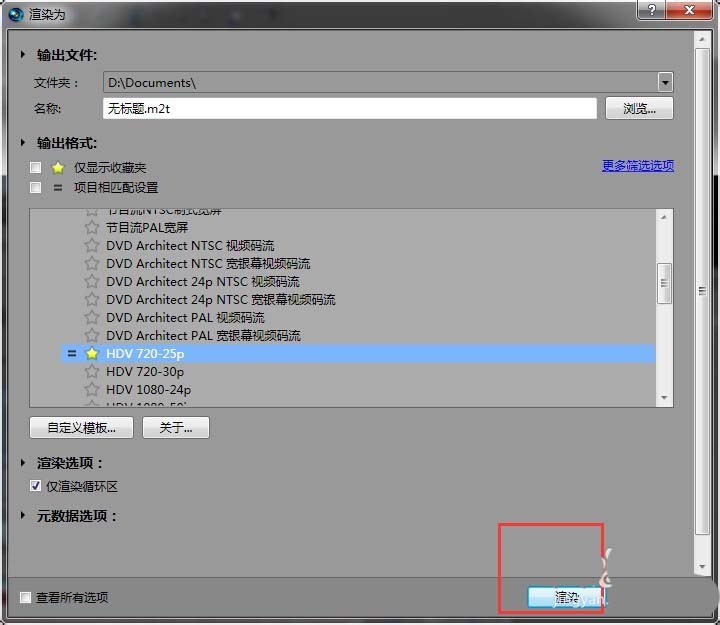
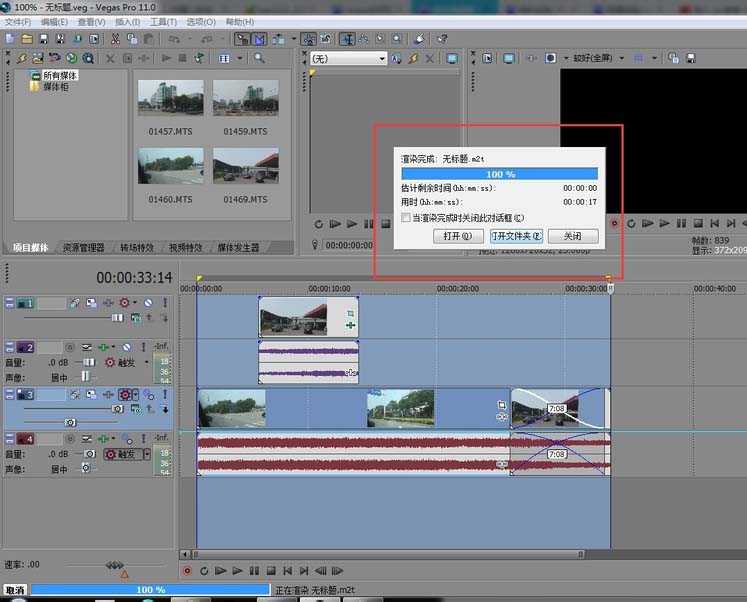
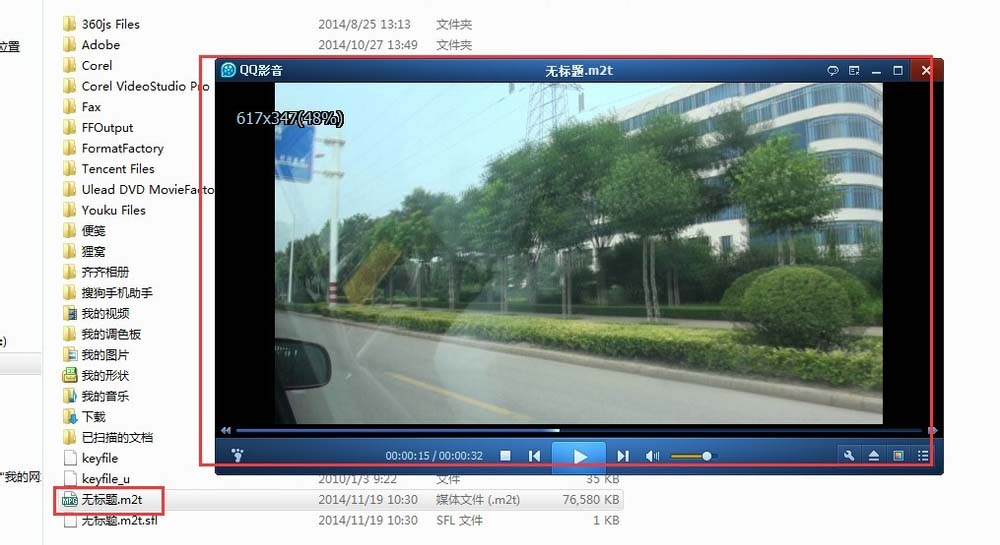
6、设置完成后,点击“渲染”,开始我们的最终视频渲染。渲染结束后,可以在目标文件夹里面进行视频的观看。
上面就是小编带来的vegas导出视频的操作流程,大家都学会了吗?


")
")


语音转文字!新媒体翻译者都有哪些实时语音转文本工具?")


