

使用photoshop如何制作出渐隐效果呢?接下来,就是小编讲解的使用photoshop制作出渐隐效果的详细步骤。
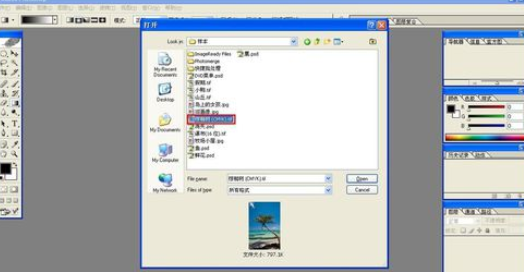
Photoshop中,请先打开样本中的”棕榈树.tif“档案
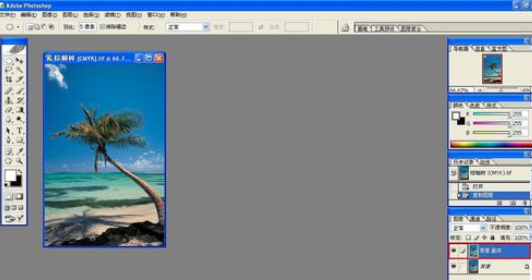
复制背景层,接着再为背景层填充白色
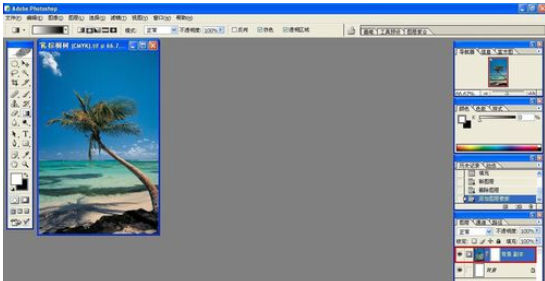
接着请为复制过来的背景层(副本)设置一个图层蒙版

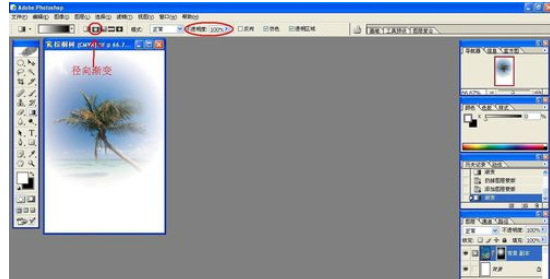
请设置前景色白色,背景色绿色,接着在蒙版上利用径向渐变工具即可做出渐隐效果
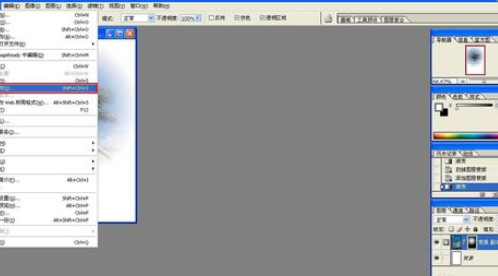
最后请把做好的渐隐效果另存为“PS蒙版制作渐隐效果.psd”即可
上文就是小编讲解的使用photoshop制作出渐隐效果的详细步骤,大家都学会了吗?


")
")


语音转文字!新媒体翻译者都有哪些实时语音转文本工具?")


