

这篇文章主要为大家讲解在photoshop中制作出全景照片的详细方法,赶快一起去下文学习下吧。
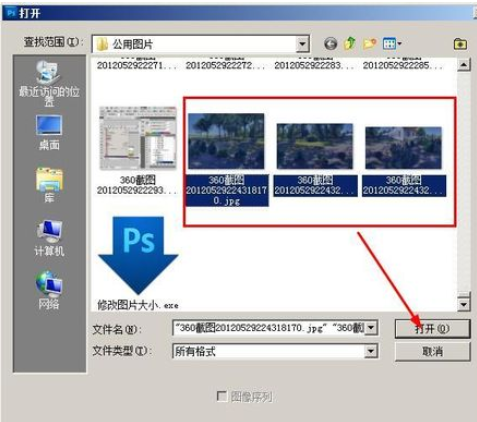
打开ps以后,按下ctrl+o,选中这三张图,然后点击打开按钮,打开这三张图
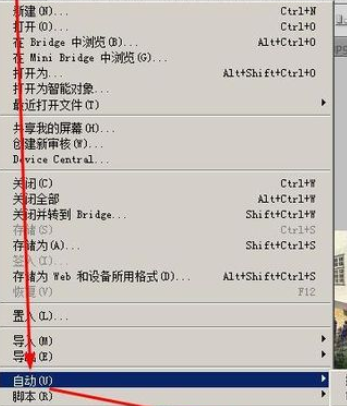
在菜单栏执行:文件--自动--photomerge
在打开的对话框中,我们勾选自动选项,然后点击【添加打开的文件】
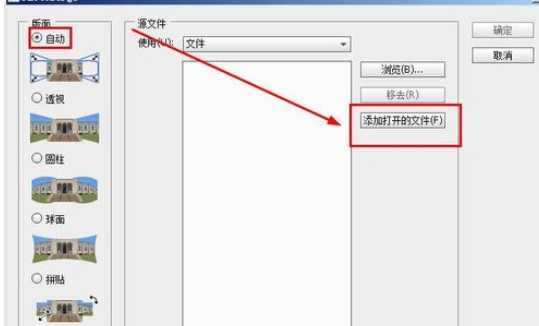
我们看到打开的文件已经添加到这个列表中,我们点击确定按钮

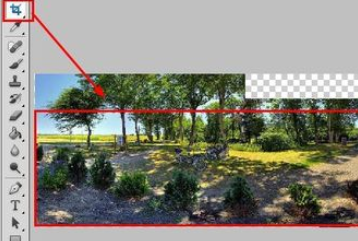
等待几分钟,图片就拼贴到一起了,但是由于图片大小不同,仍然有一部分是残缺的
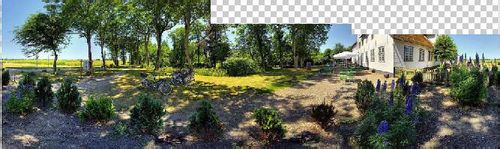
选中工具栏上面的剪切工具,然后画出一个矩形,将矩形之外的部分剪掉。
这就是最后做出来的全景照片了,是不是很酷呀。
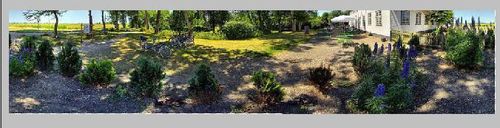
上文就是在photoshop中制作出全景照片的详细方法,大家都学会了吗?


")
")


语音转文字!新媒体翻译者都有哪些实时语音转文本工具?")


