

在photoshop中怎么样制作出爆炸效果呢?下文就是小编呈现的使用photoshop制作出爆炸效果的具体步骤。
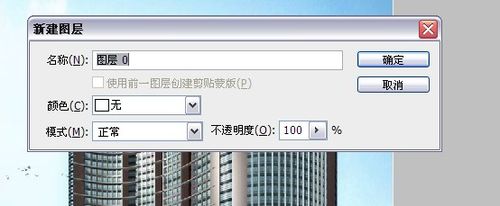
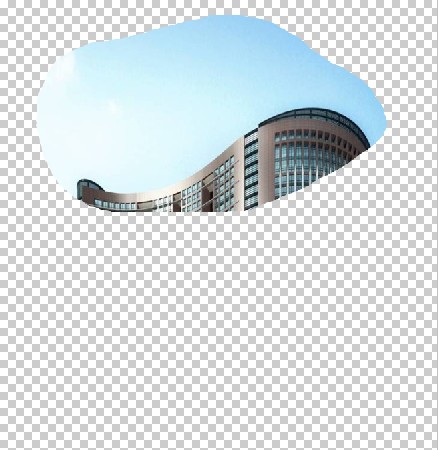
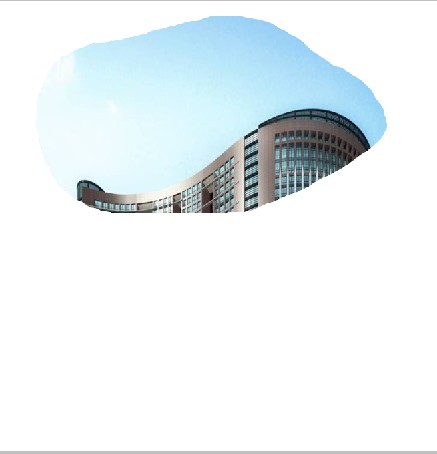
打开ps软件,打开一张图片,然后双击解锁。
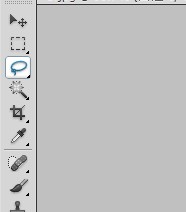
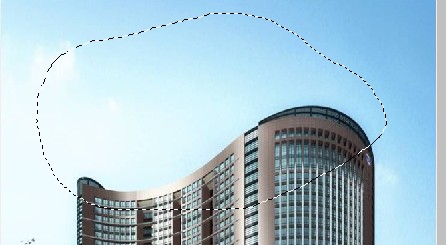
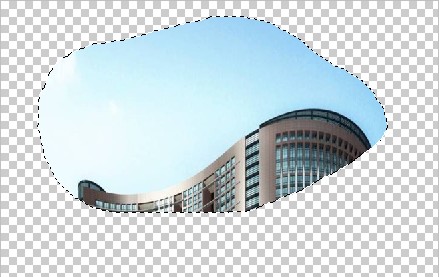
选择套索工具,在大厦的上面勾选一圈,这就是作为爆炸的地方。
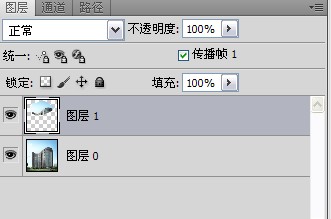
按一下ctrl+j,创建了选区图层。
按ctrl键的同时点一下图层1,重新选择了刚才的区域。
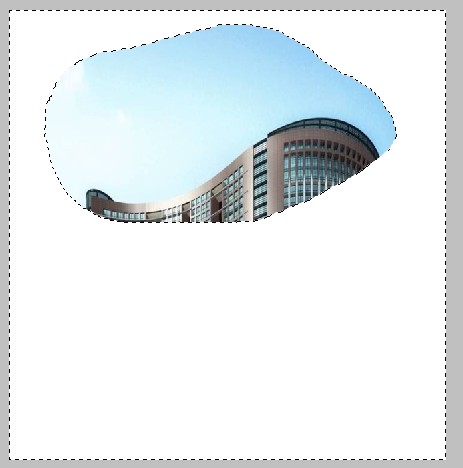
crtl+shift+i反选。

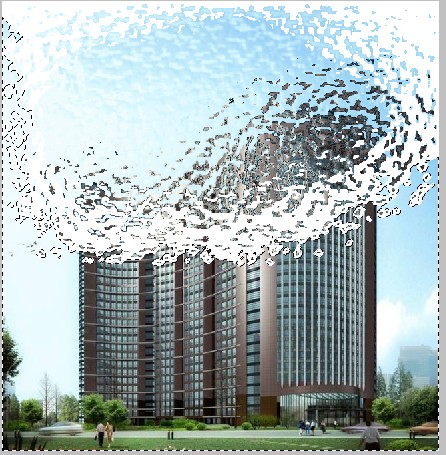
前景色设为白色,alt+delete,以前景色填充选中的区域。然后按ctrl+d取消选区。
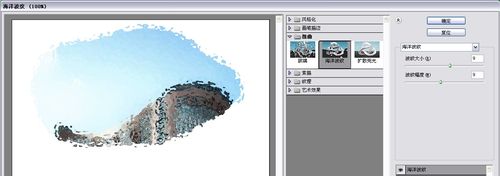
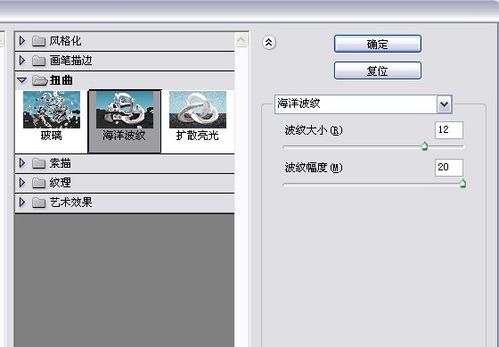
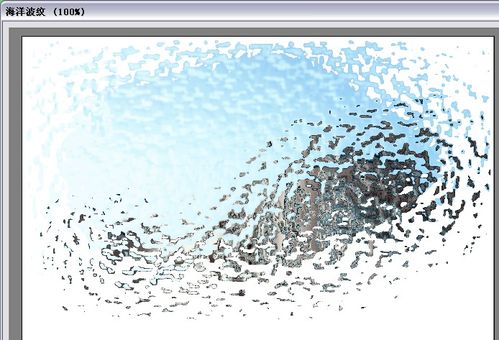
滤镜――扭曲――海洋波纹,数值设置如下。
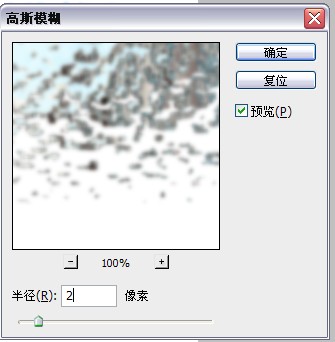
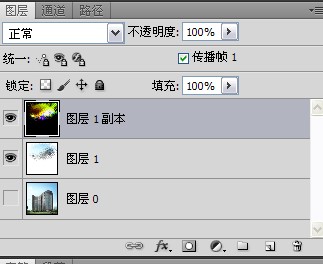
复制图层1,得到图层1副本,点击滤镜――模糊――高斯模糊,半径设置为2.
选择滤镜――风格化――曝光过度。
图像――调整――色阶。

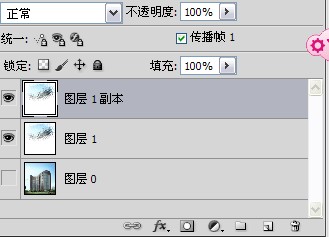
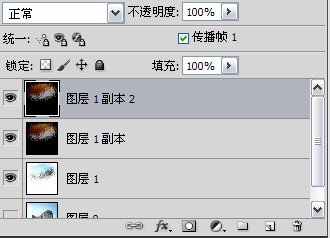
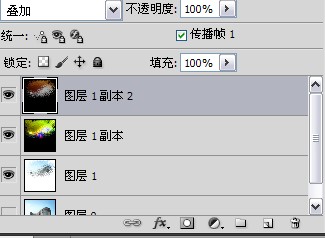
复制图层1副本,得到图层1副本2,设置它的混合模式为叠加。

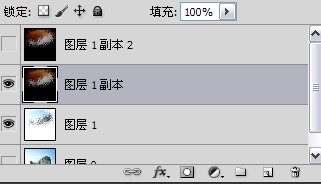
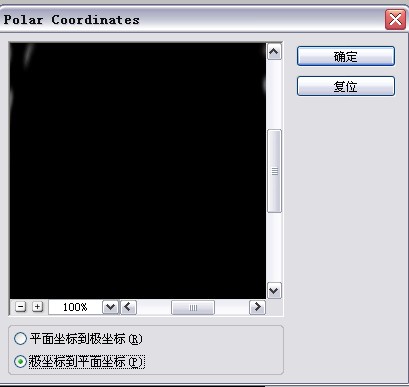
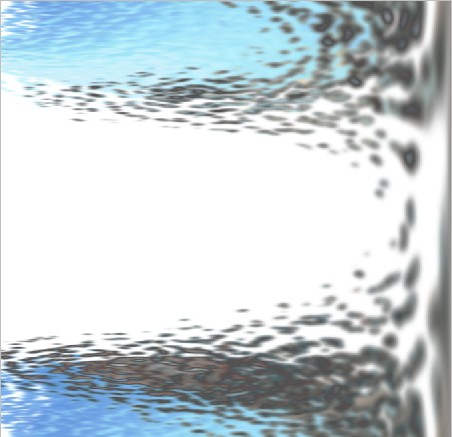
将图层副本2隐藏,选中图层1副本,滤镜――扭曲――极坐标,在弹出的对话框中设置极坐标到平面坐标。
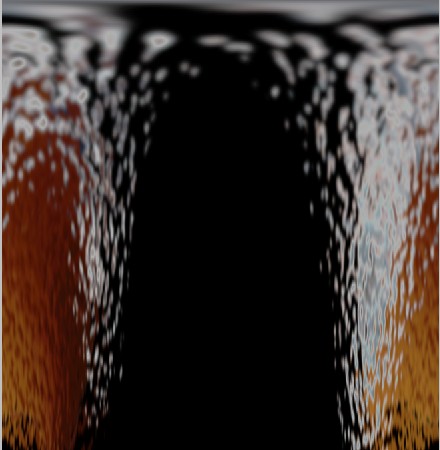
图像――旋转――顺时针旋转90度。
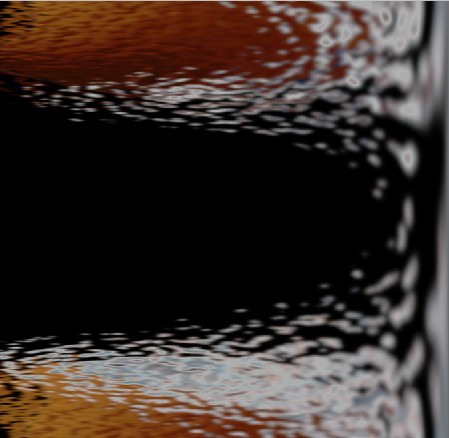
图像――调整――反相。
滤镜――风格化――风。参数设置如下。
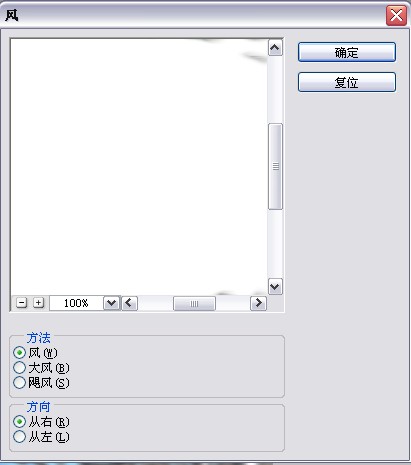
按ctrl+f两次。
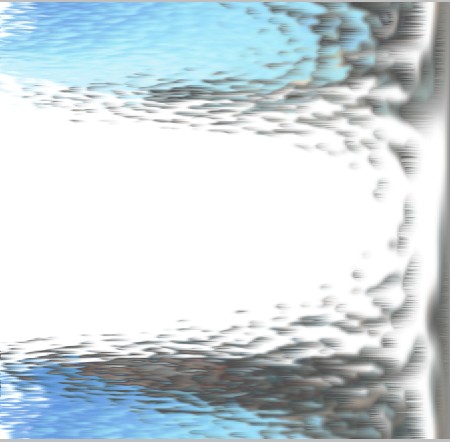
ctrl+shift+l进行自动色阶校正,然后crtl+i进行色彩反相操作。
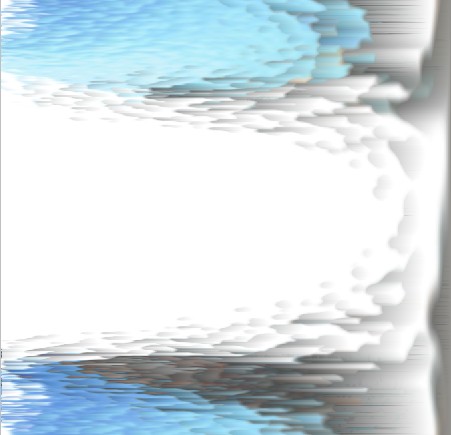
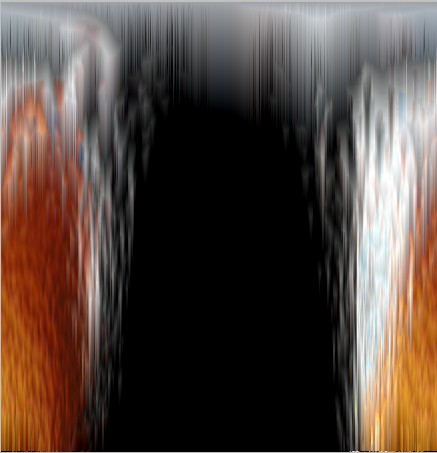
再安三次crtl+f,应用风滤镜。
图像――旋转――逆时针90度旋转。
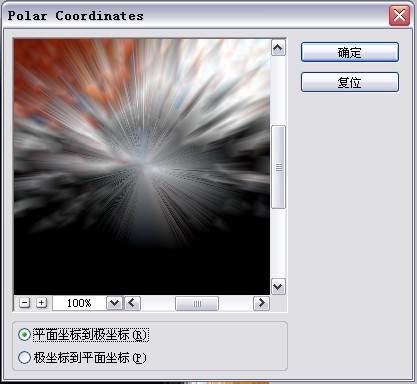
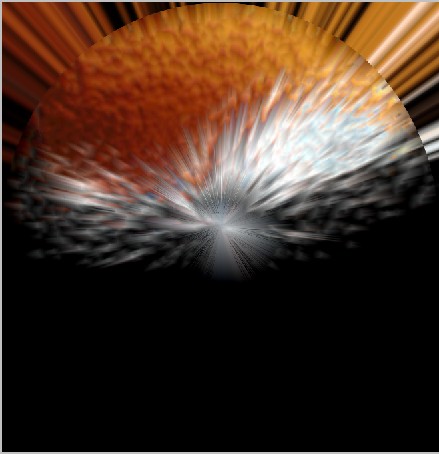
滤镜――扭曲――选择平面坐标到极坐标。
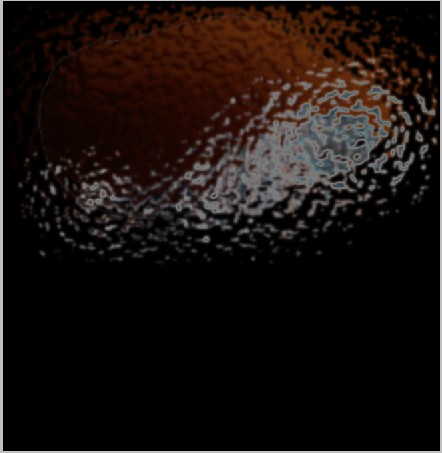
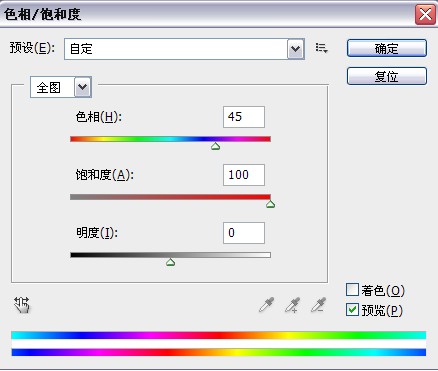
图像――调整――色相/饱和度。
crtl+e组合图层1副本2和图层1副本。
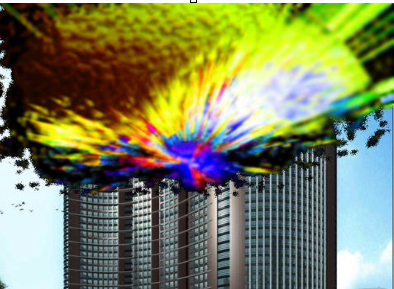
分别用魔术棒工具把图层1和图层1副本多余的部分去掉。
最后效果就是这样了。一起试试吧!
上文就是使用photoshop制作出爆炸效果的具体步骤,大家都学会了吗?


")
")


语音转文字!新媒体翻译者都有哪些实时语音转文本工具?")


