

使用photoshop如何制作出彩虹效果呢?不熟悉的伙伴可以去下文学习下使用photoshop制作出彩虹效果的详细操作步骤。
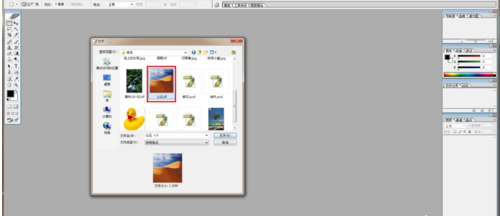
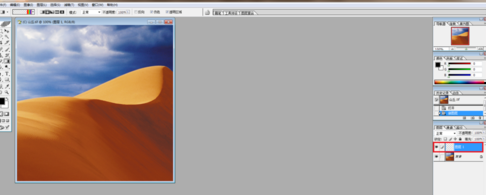
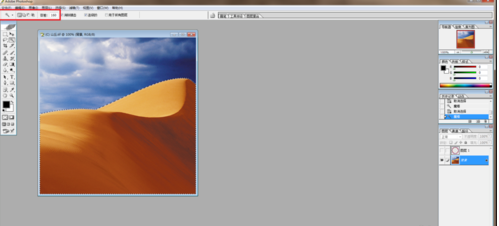
打开Photoshop样本中的“山丘.tif”,然后新建一个图层1
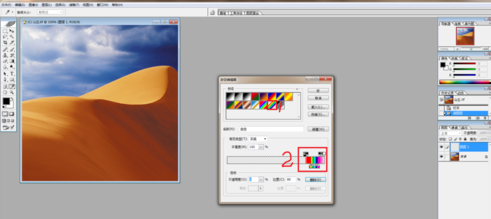
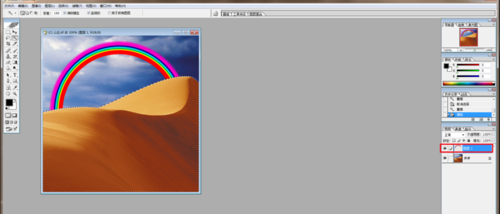
这时请在“渐变编辑器”选择“透明彩虹”,接着再把所有的控制点右移
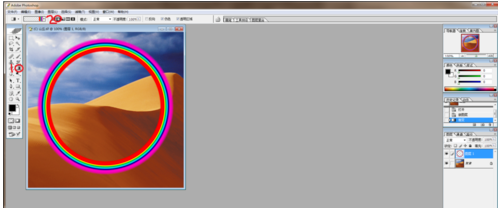
选择“径向渐变”,然后在适当的位置拖拽,即可得出彩虹环
隐藏图层1,然后执行魔棒工具(容差160),接着再选择好山丘部分
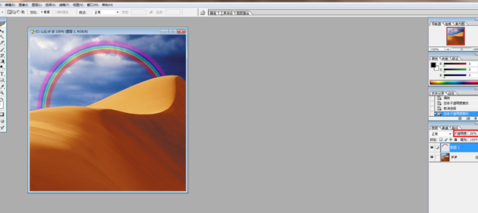
接下来请再次显现图层1,然后删除选区内剩余的部分,并把透明度设置成36%,即可显现出彩虹效果
上文就是使用photoshop制作出彩虹效果的详细操作步骤,大家都学会了吗?


")
")


语音转文字!新媒体翻译者都有哪些实时语音转文本工具?")


