

这篇教程只要为各位用户讲解使用cdr绘制出不同形状图形的图文教程,感兴趣的一起去好好学习下吧。
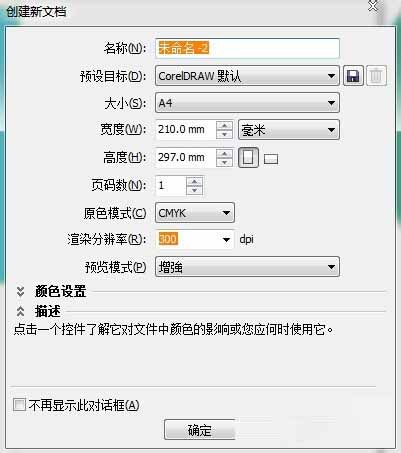
1、首先先打开CorelDRAW软件,执行“新建-文件”,数值自定义,如图
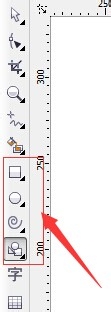
2、然后选择左侧工具栏,如图,随意选出要使用的图像,倒三角符号点击会出现更多的选择
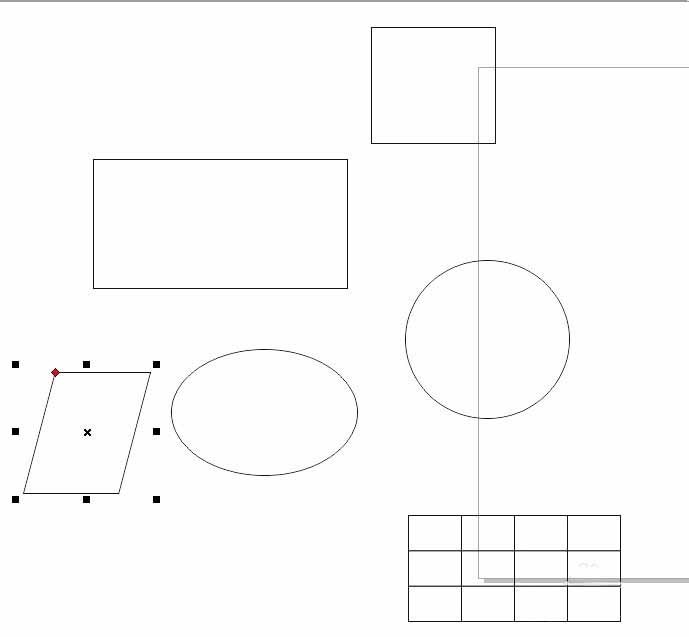
3、点击图像标识后,直接在右边空白的文档中画出即可,按住shift键即可画出正圆和正方形等,如图:
4、点击右侧调色板,选择图形,右键点击填充轮廓边缘,左键点击填充图形内部颜色,如图:
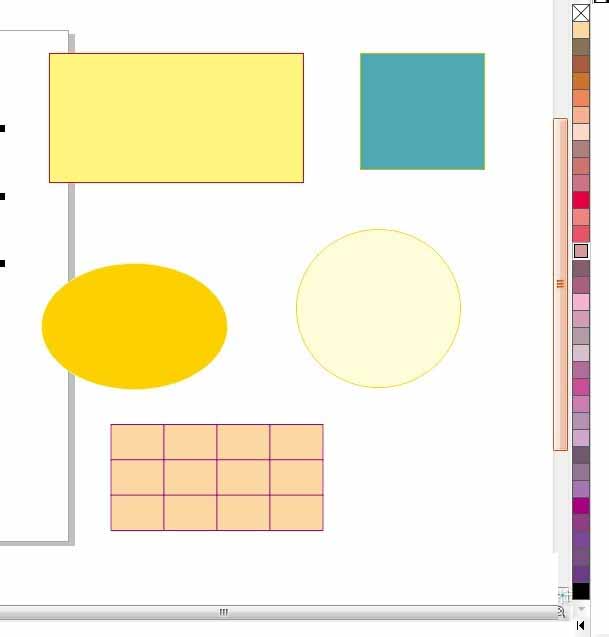
5、也可以使用移动工具,随意移动图像的位置,如图:

上文就是使用cdr绘制出不同形状图形的图文教程,你们都学会了吗?


")
")


语音转文字!新媒体翻译者都有哪些实时语音转文本工具?")


