

下面小编给大家介绍的是使用ps填充选区颜色的简单教程,感兴趣的朋友们就快和小编来学习使用ps填充选区颜色的操作步骤吧,希望可以帮助到大家。
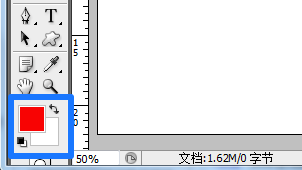
1、ps填充颜色之前首先要设置好前景色。
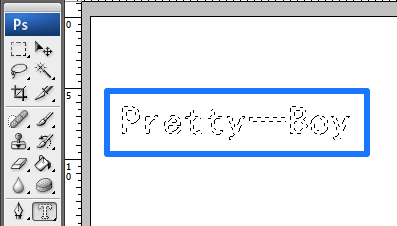
2、用ps做出要填充颜色的选区。
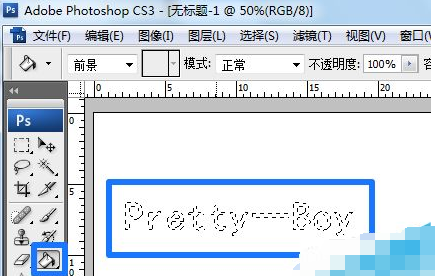
3、在ps工具栏中选择油漆桶工具在画布中单击就可以了。(ps填充快捷键是Alt+Delet)
4、填充完按Ctrl+D取消选区就可以看到填充后的效果了。

5、ps还可以用渐变工具进行填充,选择渐变工具,然后在选区中拉出渐变就可以了。
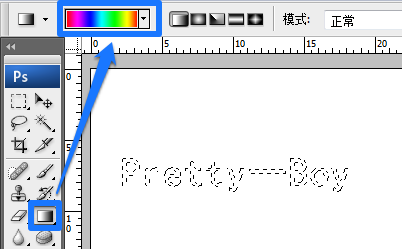
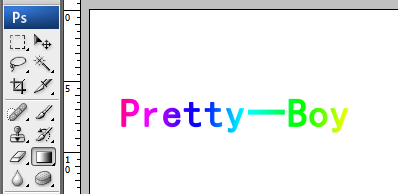
6、我们来看一下ps渐变填充效果。
上面就是小编带来的使用ps填充选区颜色的简单教程,你们都学会了吗?


")
")


语音转文字!新媒体翻译者都有哪些实时语音转文本工具?")


