

有win7用户还不会开启nfs服务,那么下面小编就讲解win7系统开启nfs服务的操作教程。一起来学习吧!
1、打开开始菜单,选择右侧的“控制面板”项;如图所示:

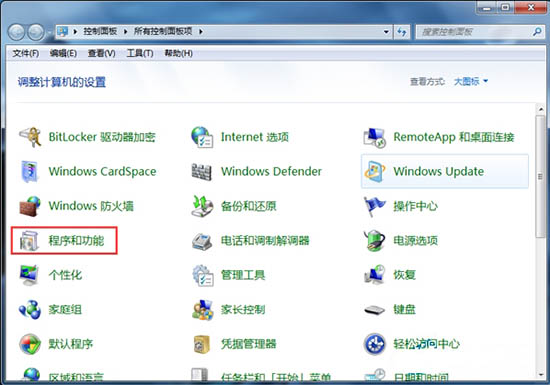
2、在“所有控制面板项”页面中找到“程序和功能”项,点击进入;如图所示:
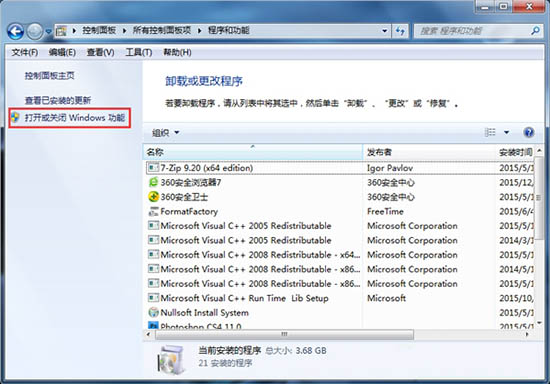
3、接下来选择左侧的“打开或关闭Windows功能”菜单项;如图所示:
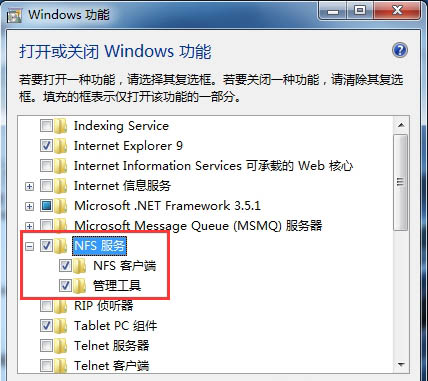
4、这时会弹出一个新的窗口,找到功能列表中的NFS服务,然后勾选该选项下的所有选项,点击“确定”按钮,保存设置;如图所示:
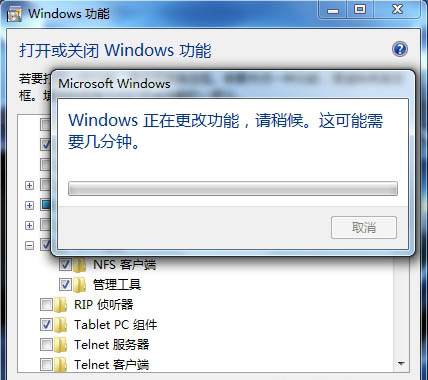
5、之后会弹出修改进度框,更改成功后会自动关掉,到此NFS客户端服务就开启了。如图所示:
上文就是小编带来的win7系统开启nfs服务的操作教程,大家都学会了吗?


")
")


语音转文字!新媒体翻译者都有哪些实时语音转文本工具?")


