

使用photoshop如何制作出木纹字呢?下文就是天极下载的小编讲解的利用photoshop制作出木纹字的详细操作步骤,赶紧一起来学习下吧。
建立一个新文件,宽度350 pixels,高度为350pixels。分辨率72pixel/inch,模式为RGB Color,背景为白色。设置前景色为R:250,G:157,B:106,背景色为R:108,G:46,B:22。然后使用渐变工具,选择由前景色到背景色的线性渐变。

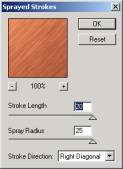
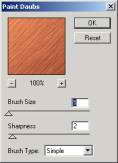
按Shift+Ctrl+X或执行Edit/Liquify对图像进行调整使其更象木纹。

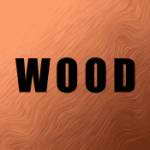
重设前景色与背景色,使用文字工具输入文字,这里使用的是这里使用的是Impact字体,大小100磅。
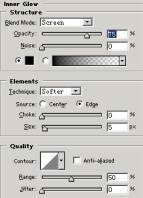
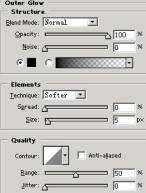
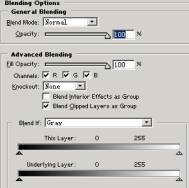
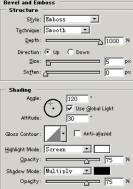
载入文字选区,选取背景层,在图层面板上右键点击背景层弹出菜单选Layer Via copy,生成新层Layer 1,然后删去原先的Wood文字层。再双击Layer 1调出Layer Style面板。分别设置Inner Shadow,Outer Glow,Inner Glow,Bevel and Emboss。参数如图:
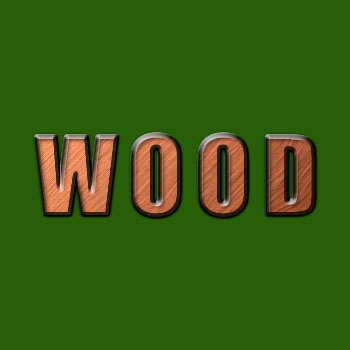
将背景层填成绿色,最后效果如图:
上文就是使用photoshop制作出木纹字的详细操作步骤,大家都学会看吗?


")
")


语音转文字!新媒体翻译者都有哪些实时语音转文本工具?")


