各位朋友想了解PS打造出数字绘画效果图片的操作过程吗?接下来就是小编介绍的PS打造出数字绘画效果图片的详细教程,赶紧来看看吧,希望能帮助到大家哦!
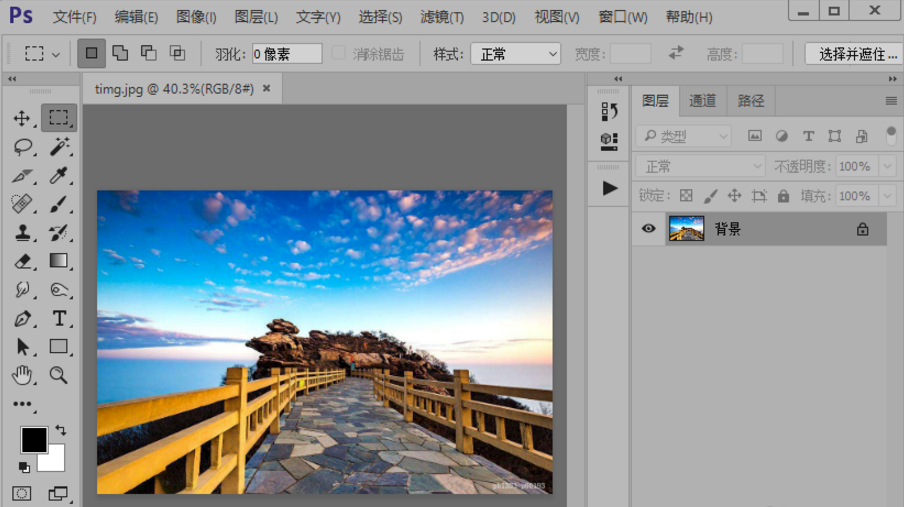
1、首先打开PS软件,拖入需要进行处理的图片。
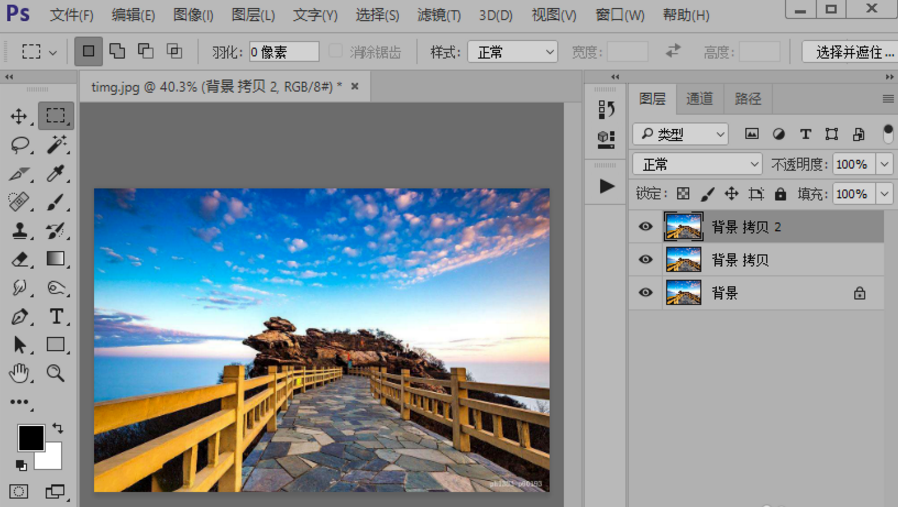
2、打开图片之后,我们复制背景图层两次。
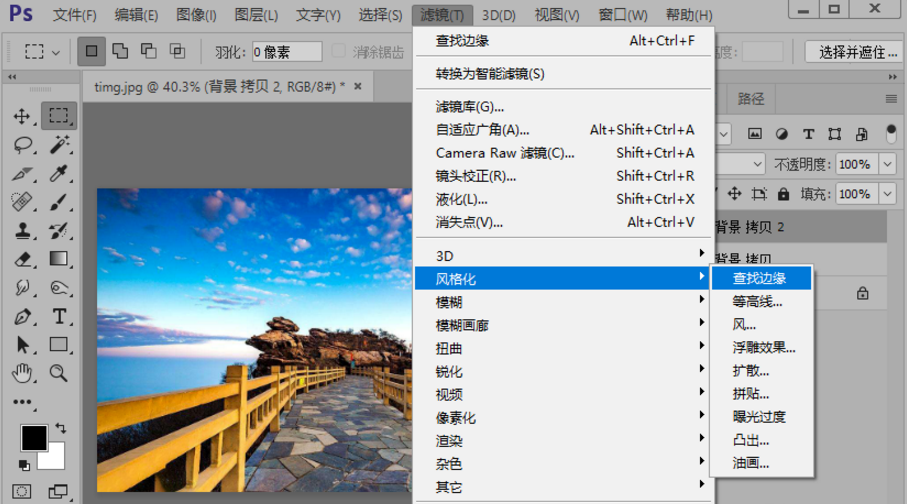
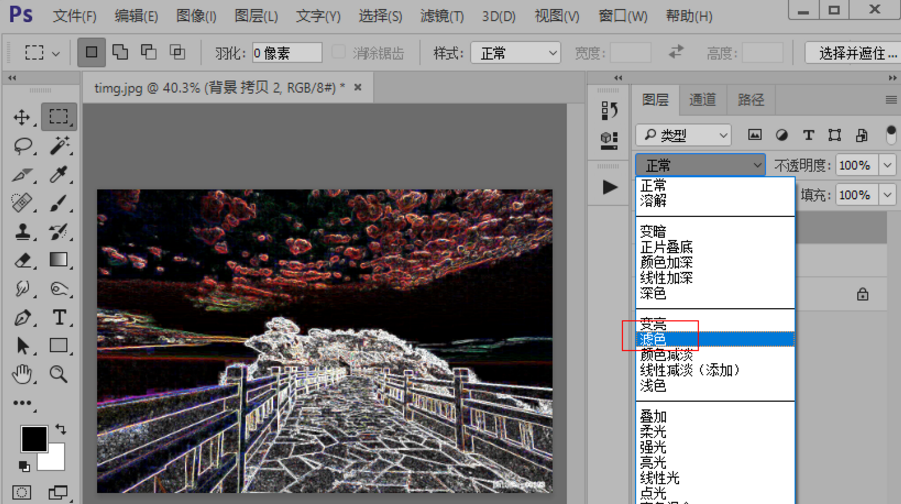
3、执行滤镜-风格化-查找边缘命令。
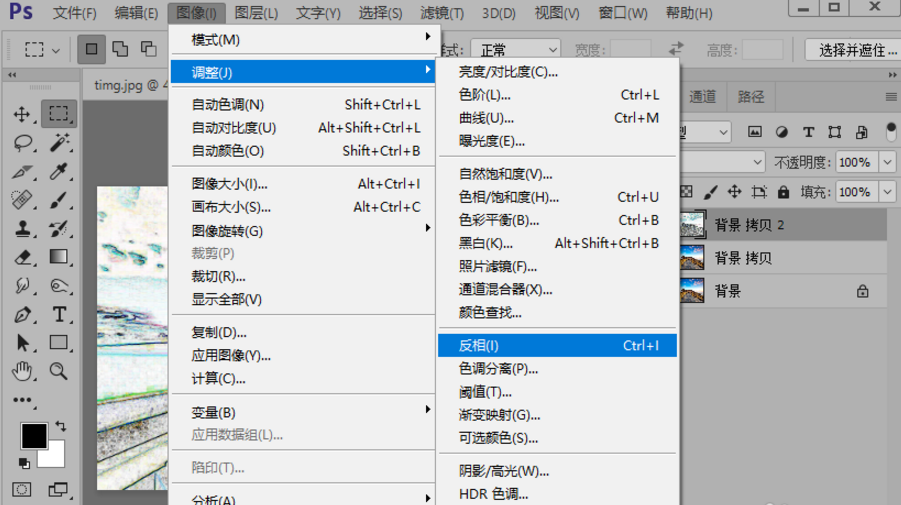
4、执行图像-调整-反相命令(快捷键Ctrl+I)。
5、把图层背景拷贝2的图层混合模式改为滤色。
6、选择图层背景 拷贝 2和图层背景 拷贝,鼠标右键,选择合并图层。
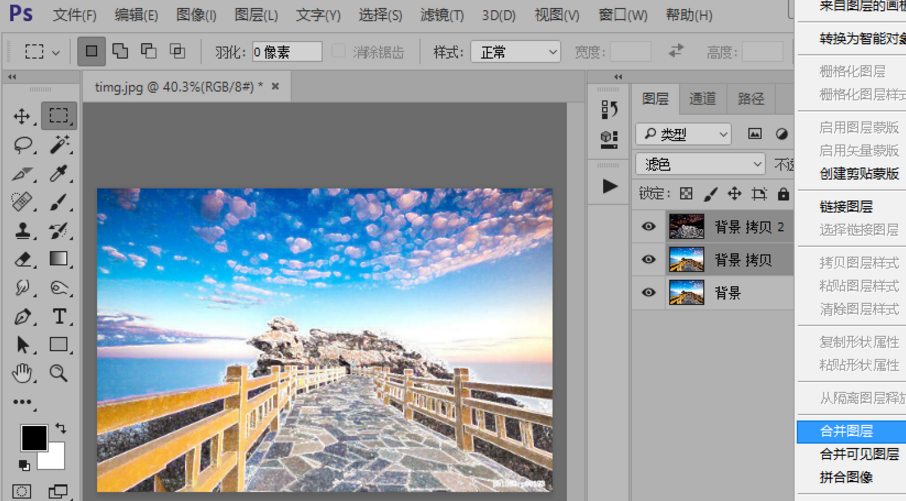
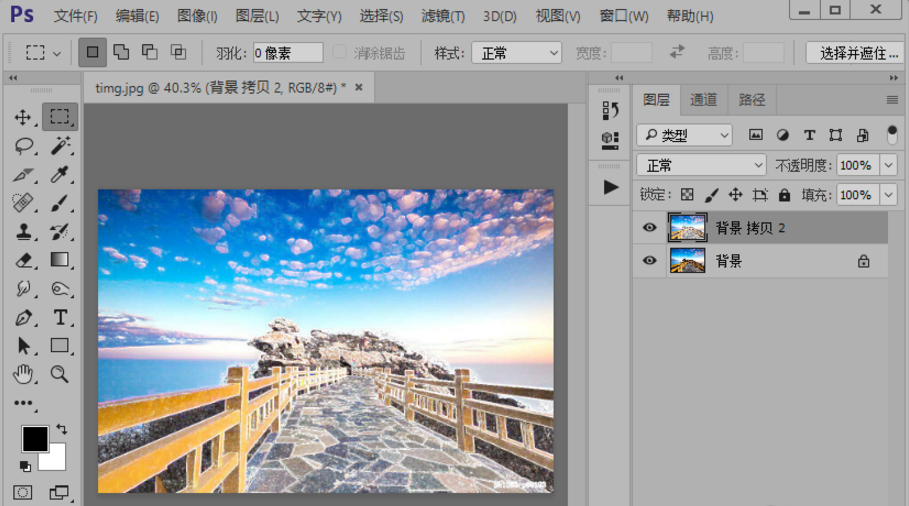
7、这样,我们就制作好了图片的数字绘画效果,如图。
上面就是为各位亲们带来的PS打造出数字绘画效果图片的详细教程,一起去了解了解吧。


")
")


语音转文字!新媒体翻译者都有哪些实时语音转文本工具?")