

你们知道怎么样将证件照的背景颜色更改吗?接下来,小编就为各位讲解使用光影魔术手进行修改证件照颜色的详细方法。
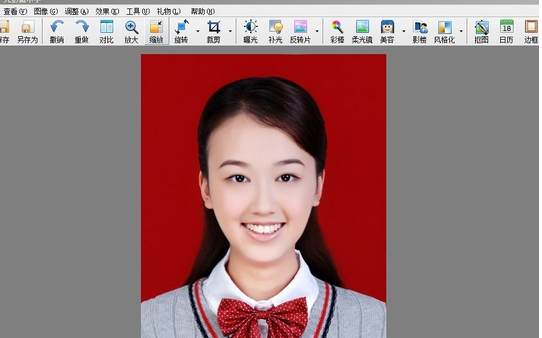
第一步,打开图片(图片来源于百度网络搜索)
第二步,找到“裁剪”选项
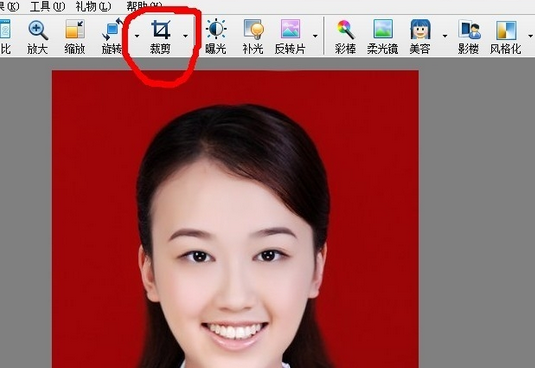
第三步,点击红圈中的按钮

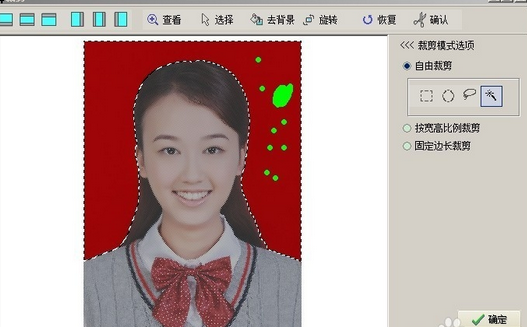
第四步,鼠标点击红色区域,如浅绿色点区域
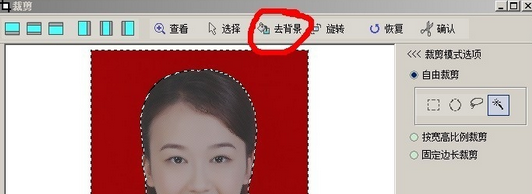
第五步,点击“去背景”按钮
第六步,在填充的颜色选项里选择需要的颜色,若列表没有 ,可以双击正方形色块区域,里面会有更详细的颜色选择。
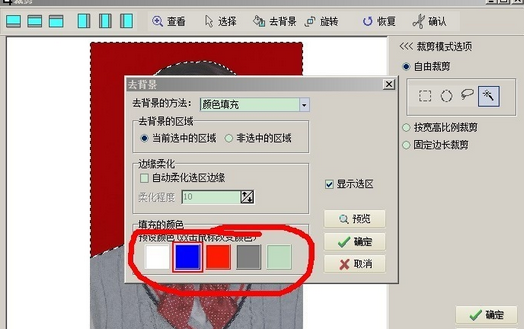
第七步,选择好颜色后,在点击除“自由裁剪”外其他裁剪选项,这是为了稳定填充效果,并无其他作用,但这步不可缺少。然后再点击确认选项就可以了,最后将文件保存就大功告成。

上文就是小编为大家讲解的使用光影魔术手进行修改证件照颜色的详细方法,你们都学会了吗?


")
")


语音转文字!新媒体翻译者都有哪些实时语音转文本工具?")


