

Ps是一款非常好的编辑图片的应用,很多人都在使用,以下是小编给大家带来的在Photoshop中使用历史记录画笔的详细操作方法,赶紧来看看吧,希望能帮助到大家哦!
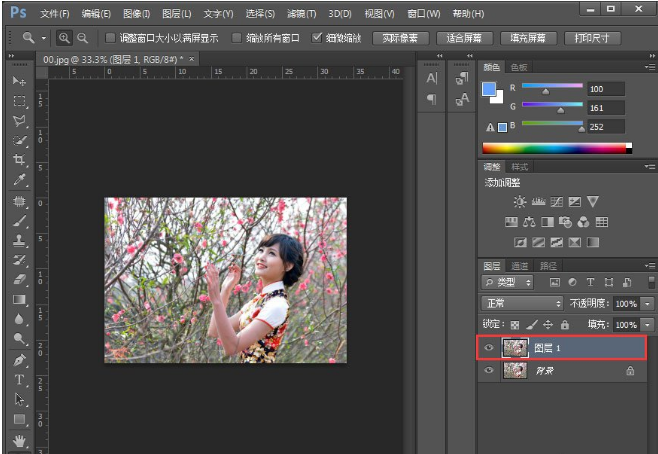
1、先打开Photoshop软件,随便打开一张图片,如下图。

2、按Ctrl+J复制一个图层,以免原图遭到破坏。
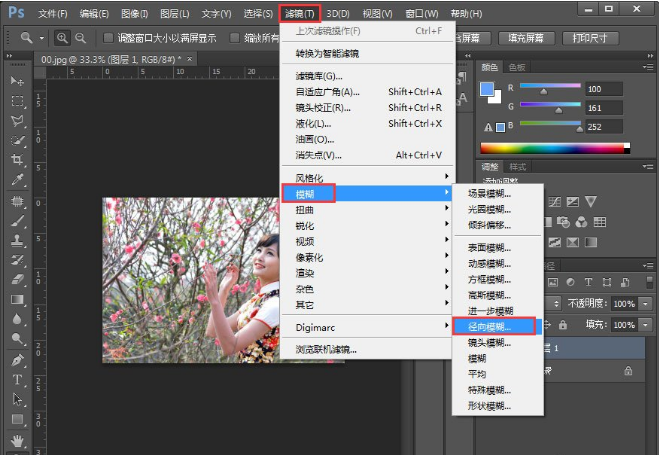
3、选中复制的图层,再单击滤镜-模糊-径向模糊。
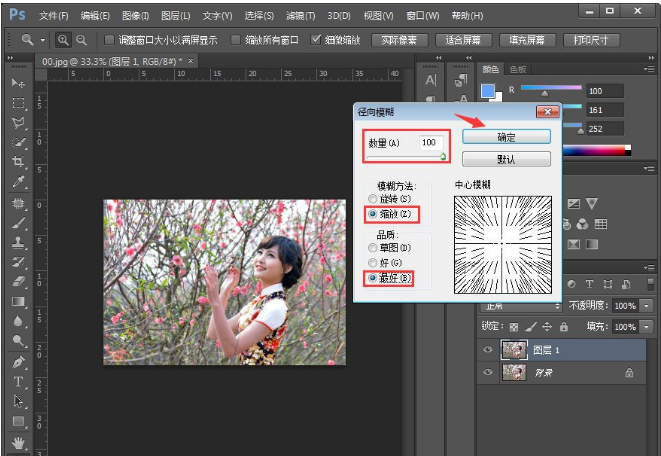
4、数量选择“100”,模糊方法选择“缩放”,品质选择“最好”,然后点击“确定”。
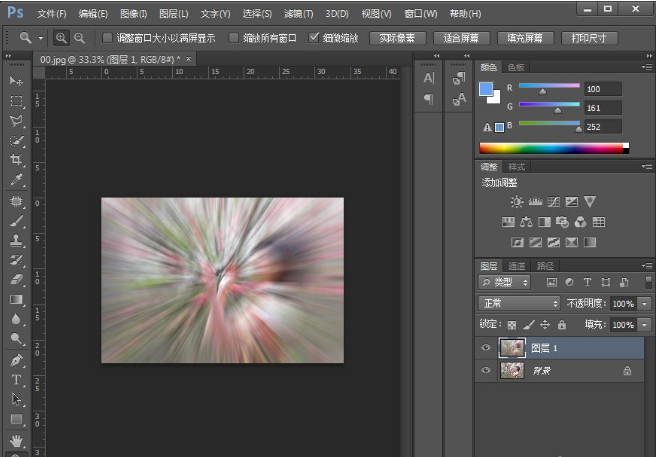
5、如下图,出现了模糊。
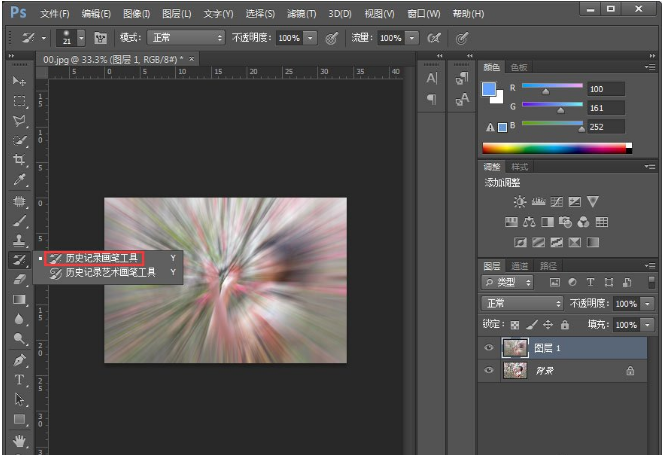
6、右键单击鼠标,选择“历史记录画笔工具”。
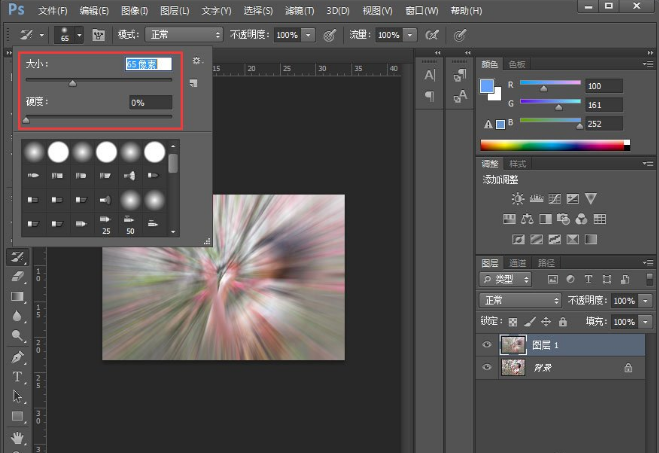
7、选择大小为65像素,硬度为0%,如下图。
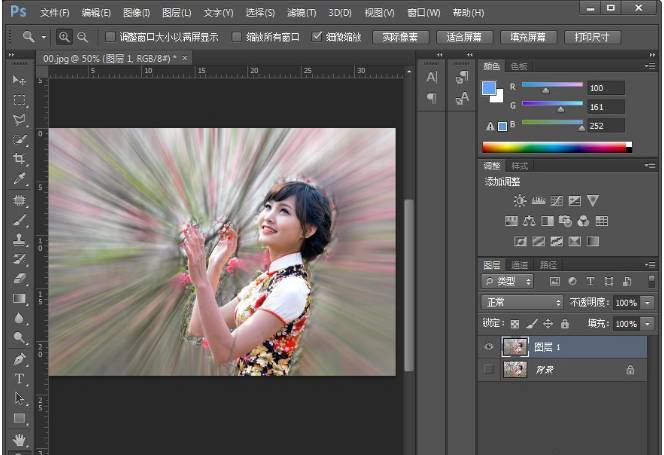
8、擦除需要展示的部分,得到的效果如下。
以上就是Photoshop历史记录画笔的具体使用方法了,希望可以帮助到大家!


")
")


语音转文字!新媒体翻译者都有哪些实时语音转文本工具?")


