

ppt被广泛应用,那ppt怎样设置页眉呢?下面就是ppt设置页眉的具体操作,很简单哦,看完之后你也来试试吧!
ppt设置页眉的方法:
打开ppt2003软件。
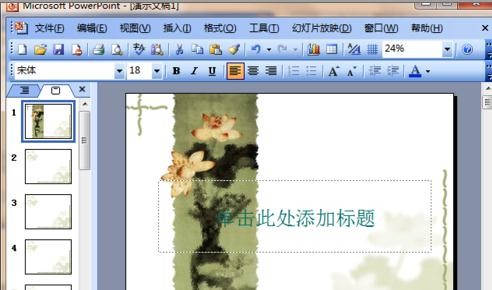
ppt设置页眉的步骤图1
单击“视图”菜单。
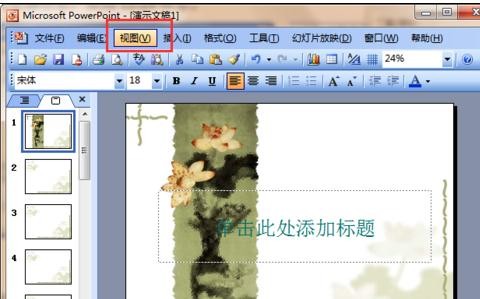
ppt设置页眉的步骤图2
选中“母版”,在下拉菜单中选中“幻灯片母版”;
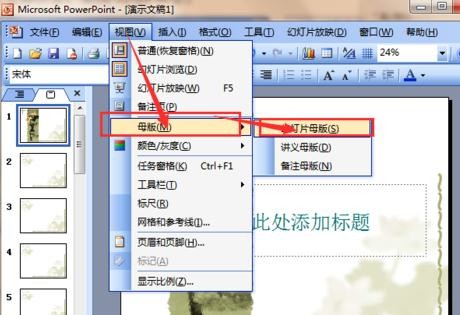
ppt设置页眉的步骤图3
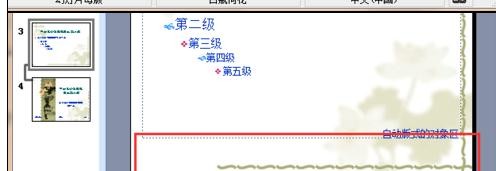
删除“日期区”“页脚区”“数字区”等几个占位符。如图所示。
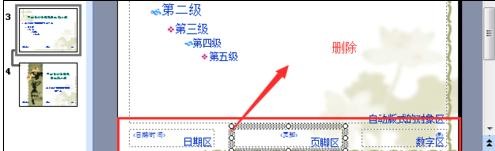
ppt设置页眉的步骤图4
ppt设置页眉的步骤图5
在母版底部设置文本框;并在文本框中输入页脚内容。
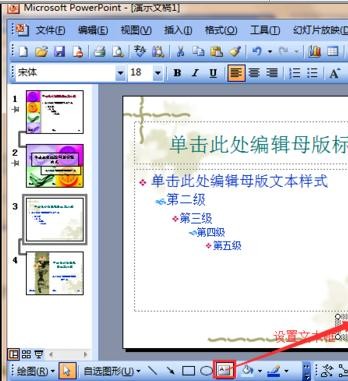
ppt设置页眉的步骤图6
选中文字,设置文字的格式。
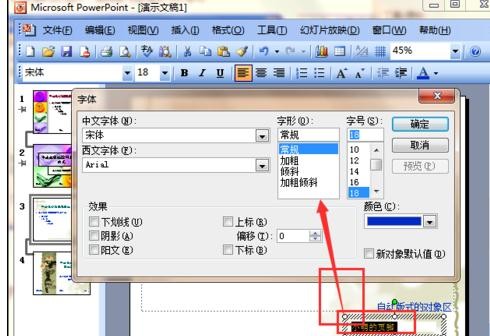
ppt设置页眉的步骤图7
由此我们就可以任意的自定义页眉页脚了。
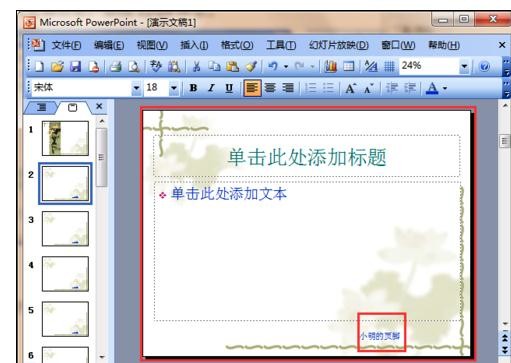
ppt设置页眉的步骤图8
以上就是ppt设置页眉的具体操作,希望可以帮助到大家。


")
")


语音转文字!新媒体翻译者都有哪些实时语音转文本工具?")


