

你们知道ppt2007如何制作飞舞羽毛特效吗?下面就是ppt2007制作飞舞羽毛特效教程哦,感兴趣的就来看看吧。
ppt2007制作飞舞羽毛特效的方法:
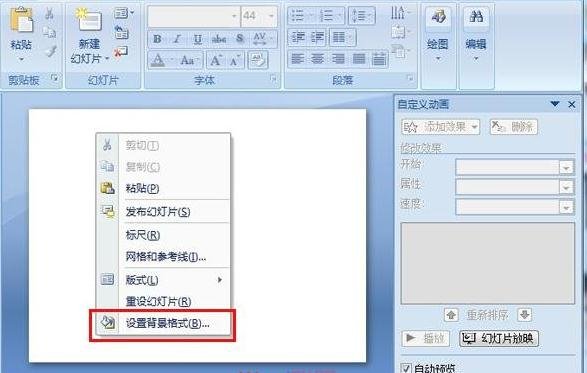
①首先我们在PPT空白处单击右键,选择“设置背景格式”。
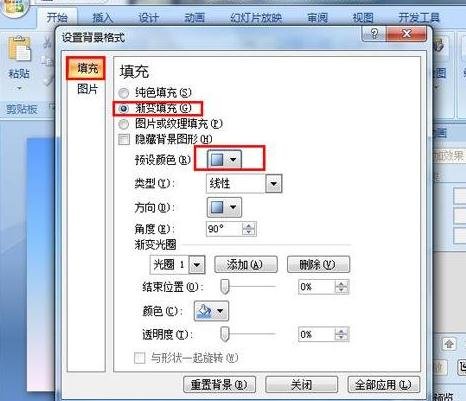
②在打开的“设置背景格式”对话框中,选择“填充”―“渐变填充”,“预设颜色”就选择默认的“蓝色”(大家可根据自己需要来制作不同背景颜色)。
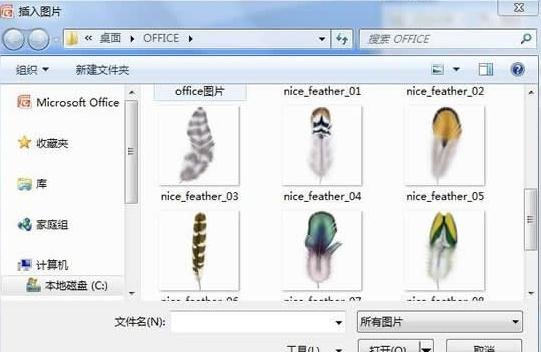
③然后在功能面板中,选择“插入”―“图片”。选择要插入的羽毛图片,建议png格式的羽毛图片最佳。
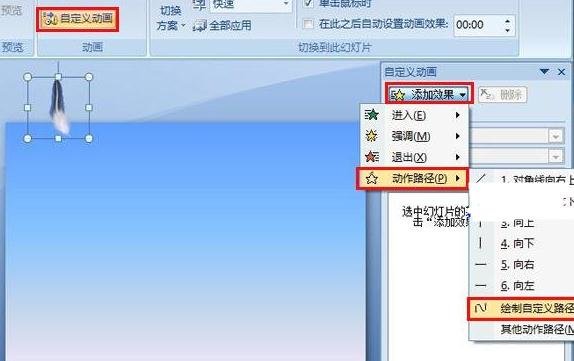
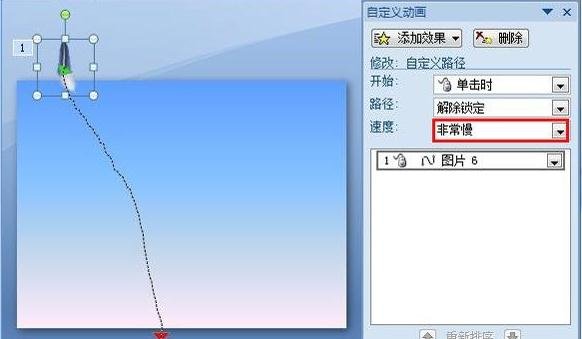
④在插入羽毛素材图片后,我们对羽毛素材进行动画设置。在功能面板中,选择“动画”―“自定义动画”―“添加效果”―“动作路径”―“绘制自定义动作路径”。
⑤根据自己想要的效果来绘制飘落的路径,绘制完毕后,“速度”改为“非常慢”。
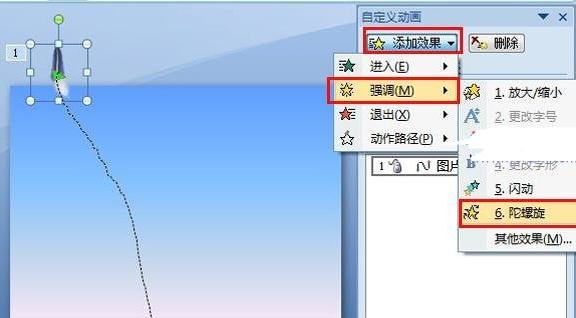
⑥然后重新选中羽毛素材,“添加效果”――“强调”――“陀螺仪”。
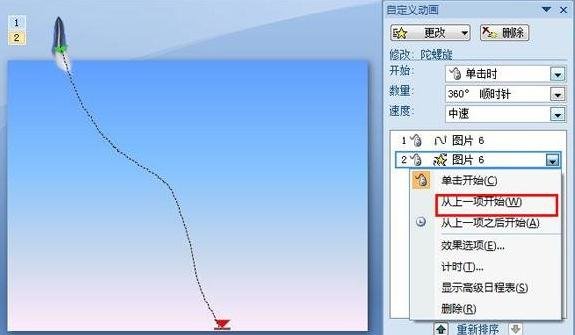
⑦设置完毕后,在自定义动画面板中,选中图片单击右键,选择“从上一项开始”,预览,则可看到羽毛缓缓飘落的场景了。
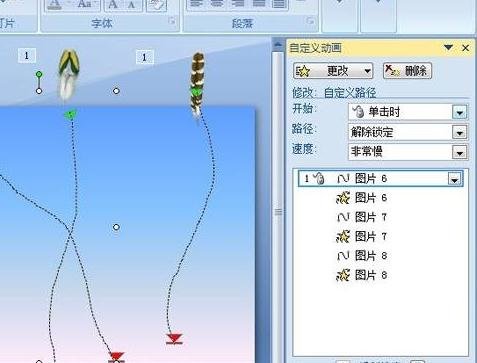
⑧同样的方法,插入更多的羽毛图片,进行同样的设置,这样我们最终就得得到了“漫天飞舞羽毛”的场景,如图所示:
以上就是ppt2007制作飞舞羽毛特效教程,希望可以帮助到大家。


")
")


语音转文字!新媒体翻译者都有哪些实时语音转文本工具?")


