

你知道如何在notepad++中安装文件目录功能插件吗?下面小编带来了notepad++安装文件目录功能插件的具体操作,希望阅读过后对你有所启发。
1、下载安装notepad++后,打开notepad++
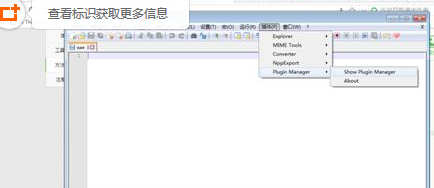
2、然后点击插件--》插件管理-》显示插件的英文单词
3、在打开的available下面选取explorer在点击Install就行了

4、安装过后就要重启,就能看见如下图箭头所示的图标

5、点击过后就能看到文件目录列表,这下这个编辑器就具备其他笨重编辑器具备的实用功能了

以上就是notepad++安装文件目录功能插件的具体操作了,大家都学会了吗?


")
")


语音转文字!新媒体翻译者都有哪些实时语音转文本工具?")


