

有些人在使用word2010时,会遇到如何在word2010插入页眉的问题,下面小编就带大家一起来看看具体方法吧。
word2010中插入页眉的步骤如下:
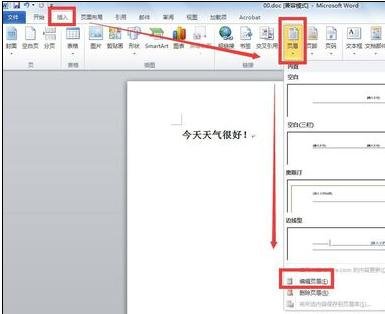
步骤一:打开word2010文档,选择“插入-页眉-编辑页眉”,点击进入编辑页面
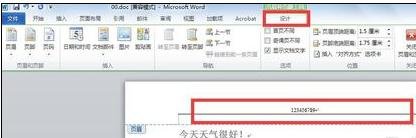
步骤二:开始编辑页眉信息,同时,可以在“设计”项做一些你需要的设计
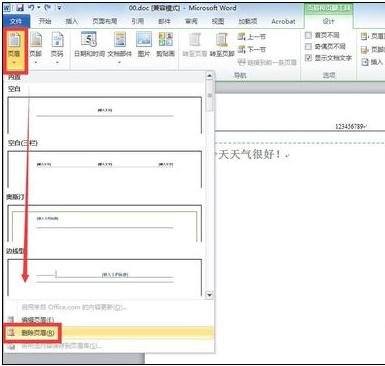
步骤三:如果觉得页眉格式不满意,可以点击“页眉-删除页眉”
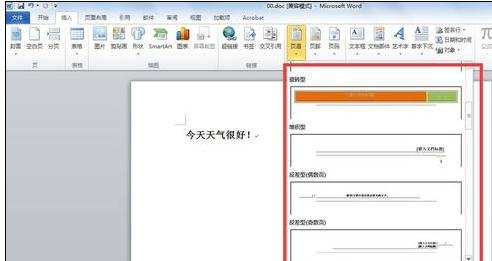
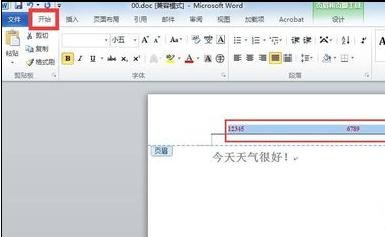
步骤四:在“页眉”里面还有很多不同的格式可以任意选择。选定格式后,编辑的页眉信息,也可以在“开始”中编辑数字、文字的格式
步骤五:编辑满意后,选择“文件”保存文档

以上就是word2010插入页眉的全部内容了,大家都学会了吗?


")
")


语音转文字!新媒体翻译者都有哪些实时语音转文本工具?")


