

今天小编给大家讲怎么在3dsmax制作炫酷的光线特效?需要或者有兴趣的朋友们可以看一看下文,相信对大家会有所帮助的。
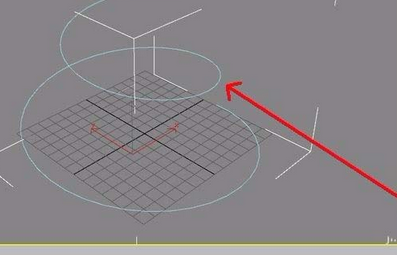
1、首先拉一个螺旋体,设定如图所示
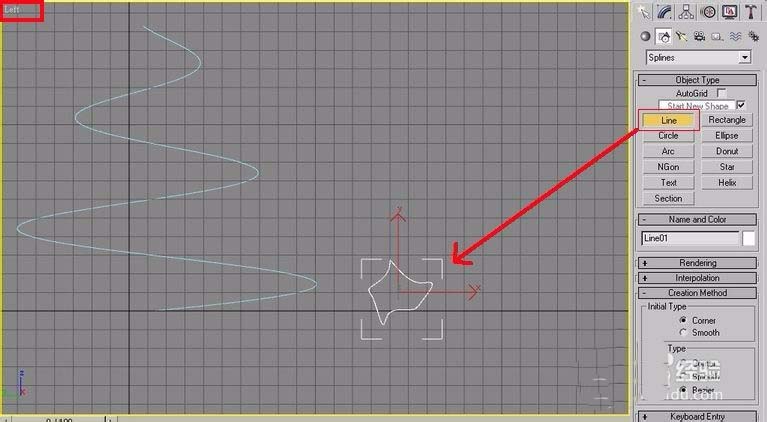
2、再来利用画线工具在左视图拉出不规则封闭线条形状
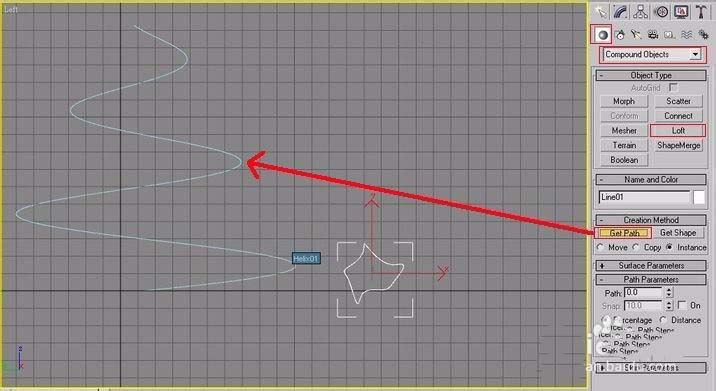
3、选择 loft 工具,点选螺旋体作为 loft path
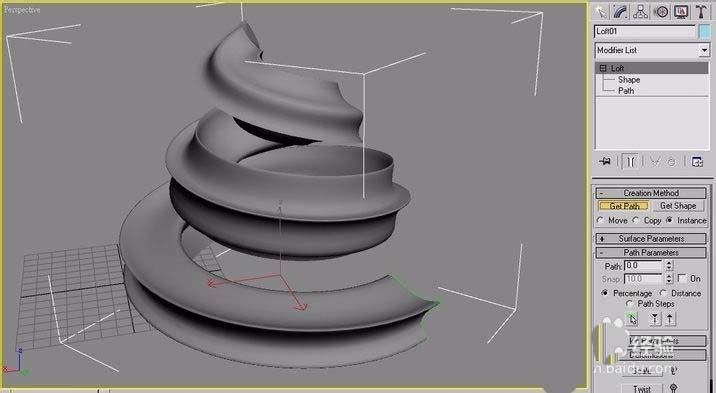
4、如图,即可得到基础的外型
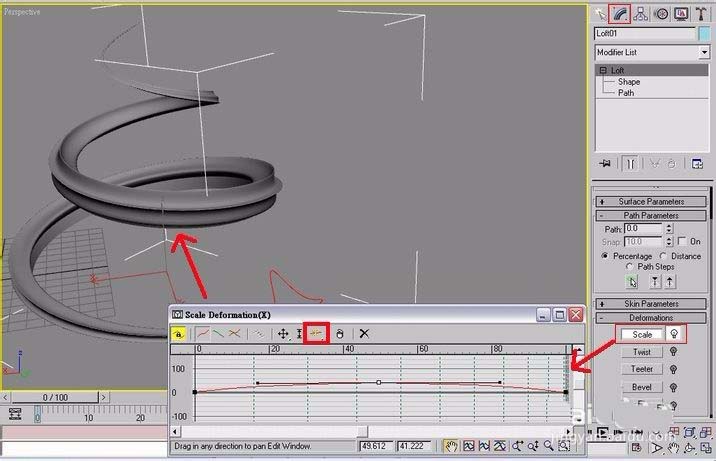
5、现在要把螺旋体头尾端变的尖细些~选择 scale 工具出现编辑曲线,在曲线中间加一个编辑点,按下鼠标右键,把点转为 Bezier-Smooth 形式,调整曲线如图。
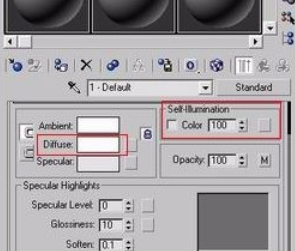
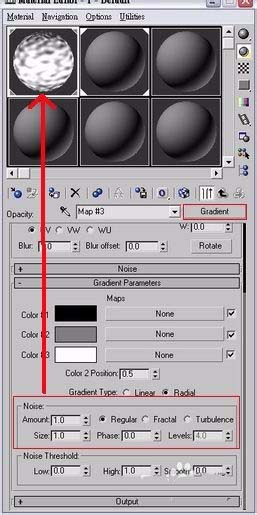
6、如图,给材质球一个白色 diffuse,自发光 100,Opacity 贴个渐层材质。
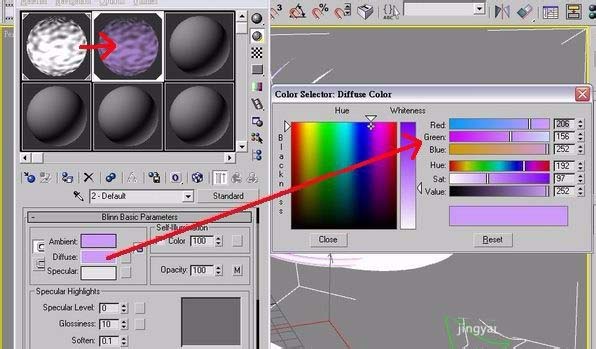
7、复制材质球,改一下名称,给它淡紫色 diffuse
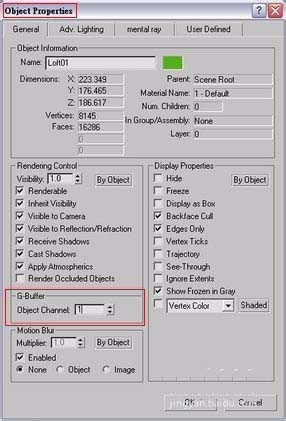
8、材质设定完成,分别给两个螺旋体。现在给两个螺旋体设定 Object Channel 。如图,选第一个螺旋体,按下鼠标右键叫出 properties 选单,设定Object Channel 为 1 。同理,第二个螺旋体 Object Channel 则设定为 2
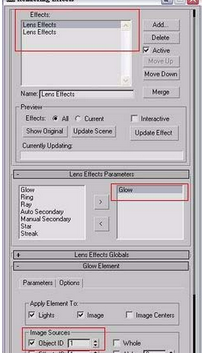
9、在上方工具列 rendering-->rendering effects 选单中,给 Lens Effects ----> Glow 效果,指定 Object ID 为 1 (把 Glow 效果指定给螺旋体一)同理,增加另一个 Glow 效果指定 Object ID 为 2 给第二螺旋体。
10、这是第一个螺旋体 Glow 效果的相关设定
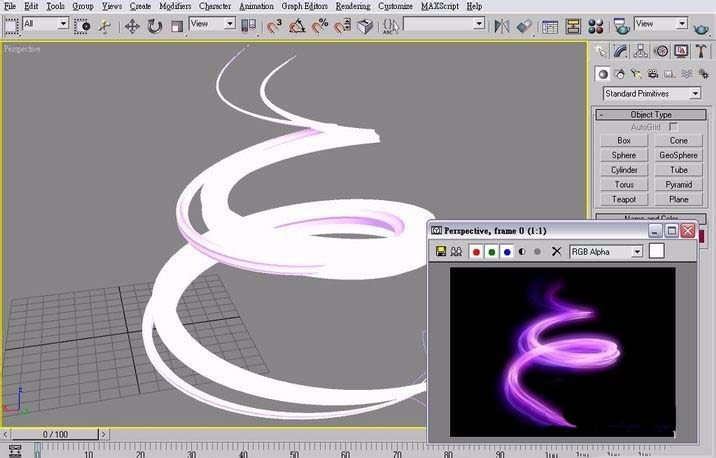
11、现在可以 render 试试效果了!
以上就是怎么在3dsmax制作炫酷的光线特效的全部内容了,大家都学会了吗?


")
")


语音转文字!新媒体翻译者都有哪些实时语音转文本工具?")


