

在photoshop中如何将图片制作成为唯美的极光效果呢?下面就是今天讲解的利用photoshop制作出极光效果的操作步骤。
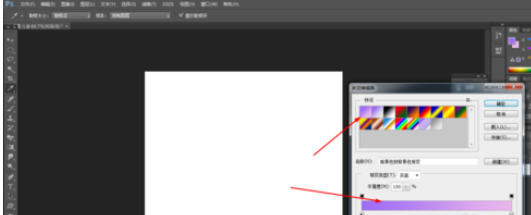
在ps软件中,新建一个800*800的图层,点击渐变工具,拉一个蓝色跟粉色的渐变,如图所示
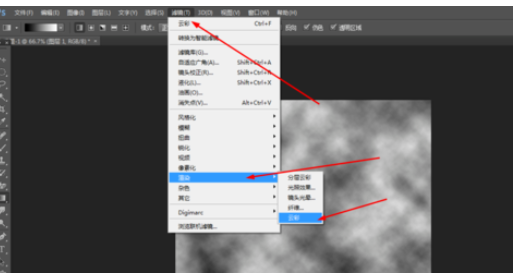
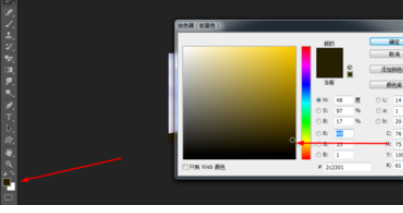
新建一个图层,前背景色为黑白色,然后在滤镜中添加云彩,如图所示
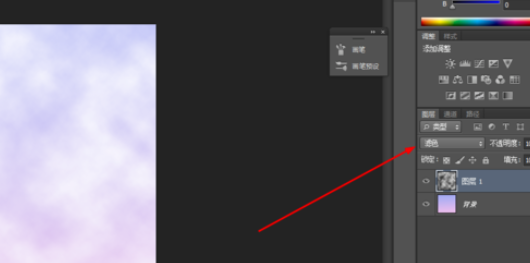
然后在把图层的模式改为滤色,如图所示
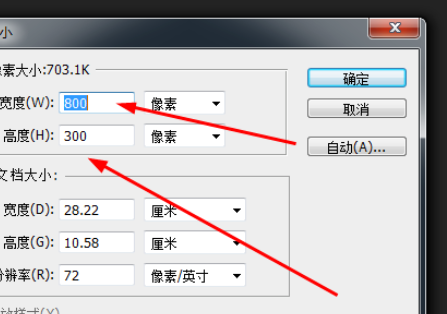
把图像的大小改为800*300,如图所示
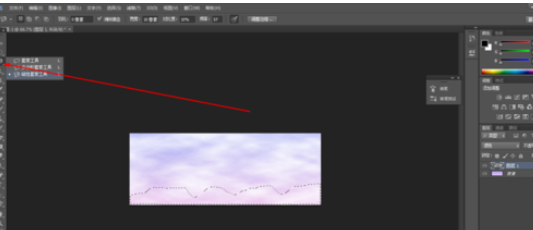
用磁性套索工具,扣出下面的区域,填充深棕色,如图所示
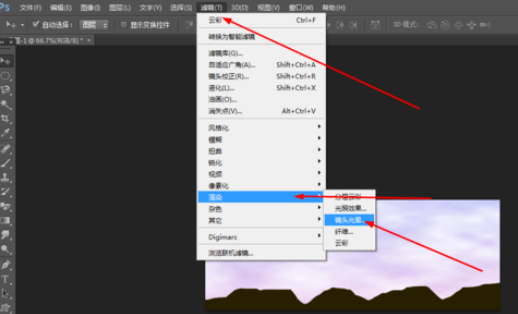
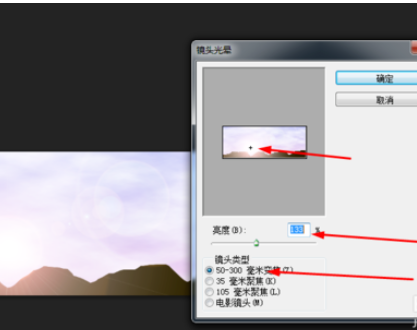
合并所有的图层,在滤镜中添加镜头光晕,如图所示
效果如图所示

上文就是小编讲解的利用photoshop制作出极光效果的操作步骤,你们都学会了吗?


")
")


语音转文字!新媒体翻译者都有哪些实时语音转文本工具?")


