今天小编为大家带来了ppt2013添加图片边框的具体步骤,想要学习的朋友快来看看吧。
ppt2013添加图片边框的方法
打开PowerPoint――“文件”――“新建演示文稿”,然后点击“插入”――“新幻灯片”

在新幻灯片中,点击“自选图形”――基本图形――棱台(第四横第三个),在新幻灯片中按住鼠标拖画出大小适中的“棱台”图形。

选中拖画出的“棱台”图形左上方出现黄色小棱形方块,左右拖动,可以调整边框的宽窄。调到合适为止。

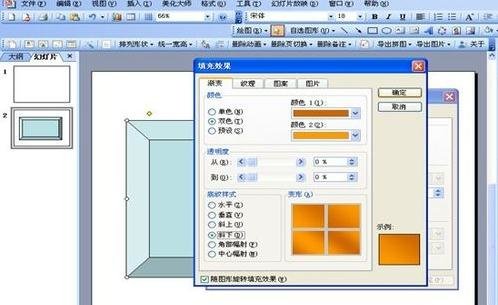
在“棱台”上点击右键,出现快捷菜单,选择“设置格式对象”,出现对话框,在对话框中点击“颜色”后面的下拉箭头,选择“填充效果”,出现“填充效果”对话框,在“渐变”中选择“双色”,确定颜色,在选择“斜下”,最后点击“确定”。

点击“插入”,插入预先准备好的图片,将图片置于“棱台”的上一层,调整图片大小,合适为止。

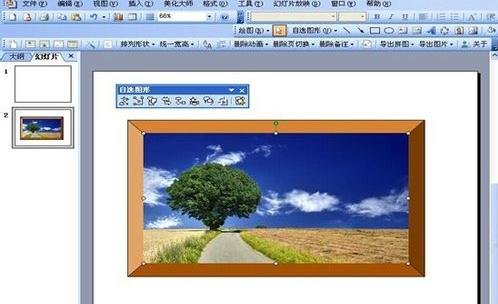
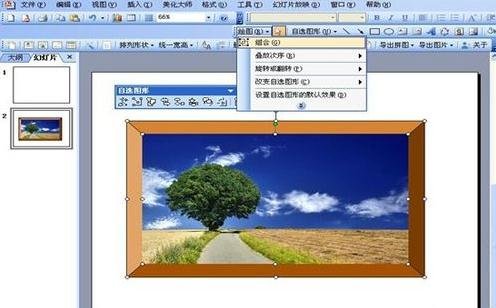
同时选中“棱台”和图片,然后依次点击“绘图”――“组合”,完成图形和图片的组合。
以上就是如何在ppt2013中快速添加图片边框的全部内容了,大家都学会了吗?


")
")


语音转文字!新媒体翻译者都有哪些实时语音转文本工具?")