- ��������
- ���ŷ���
- ���źϼ�
- �ŵ���
- ��Ѷ���Թܼ�
- ���ް�ȫ����
- ���տ�Զ�̿�������
- ��������Ƶ
- ħ��Ų��(bigfoot)
- 360�����ܼ�
- ��Ȼ�˵���˰��֣��۽ɶˣ�
- ����ٶ�
- CF�����
- uTools
- ��������
- �ѹ������
- �첥(QvodPlayer)
- Edge�����(IE������)
- �첥
- ��ѩս���ͻ���
- 360���������
- �����Ϸ��
- ToDesk


���ش�������
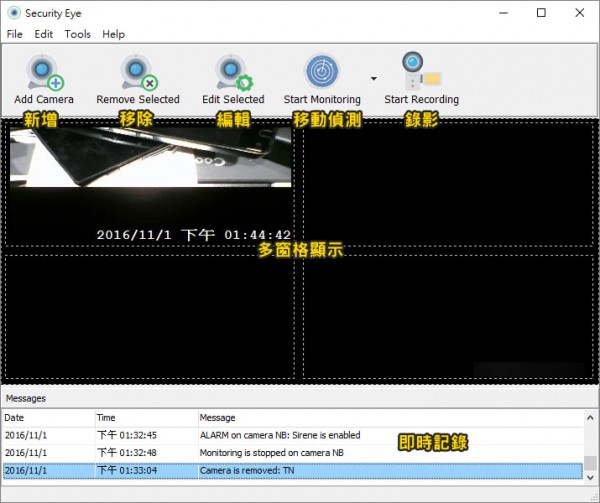
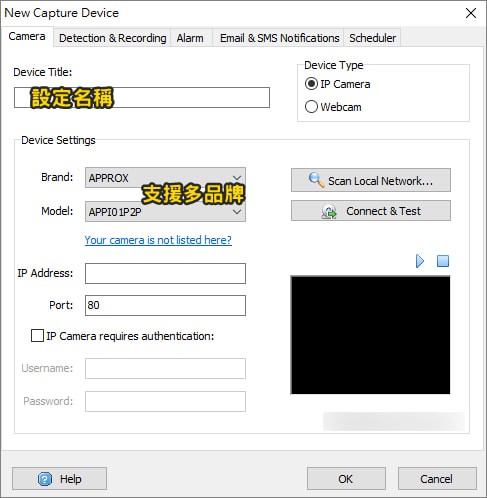
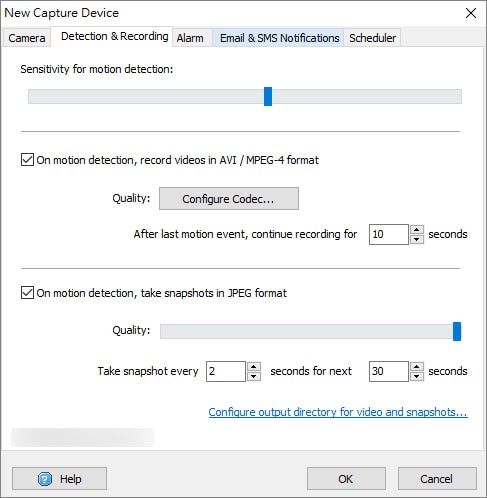
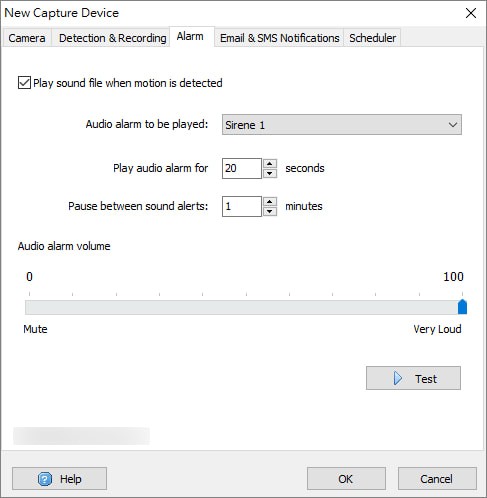
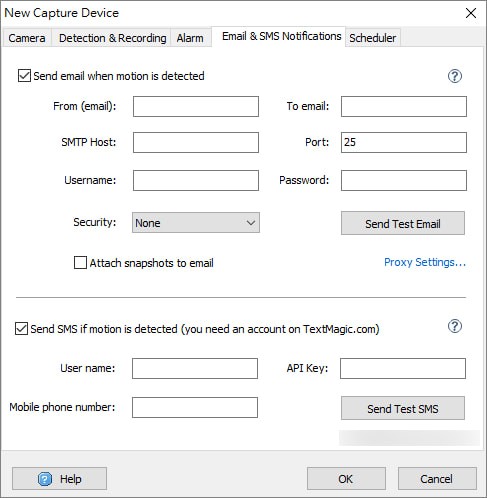
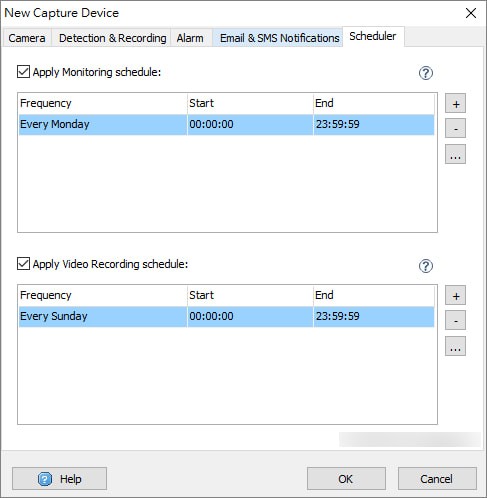
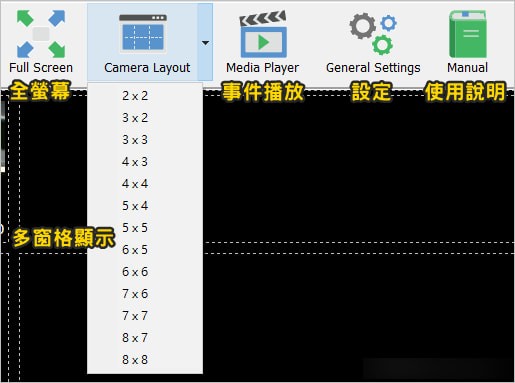
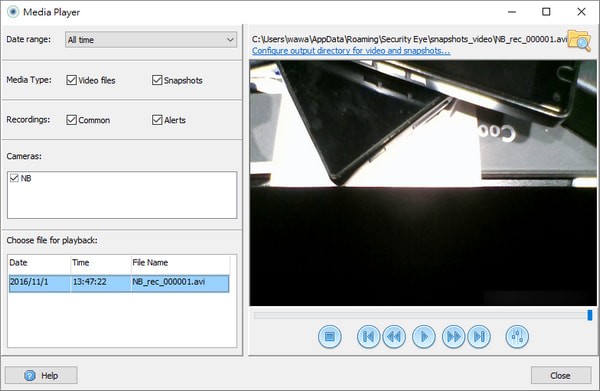
�����ٷ������� Security Eye��רҵ����Ƶ��ع��ߣ���Ƶ�Ļ��ʺ�������Security Eye��֧�ֵ����ϵ���Ѷ��ͷ�����֧�ֵ�64 ̨��Ӱ�������ߣ��ܷ����������

����1���ڱ�վ�������°�װ��������ʾ��װ

����2����װ�����У���ɼ���ʹ��


��ʾ������ͼ����ͨ��Security Eye�����������ͻ��˽�ͼ��ȡ����Ҫ���ڷ���������ֵ��������Ȩ����ϵ���ǣ�


71.2MB/2025-06-16
�鿴����
4.73MB/2025-01-02
�鿴����
10.1MB/2024-12-31
�鿴����
4.73MB/2024-12-31
�鿴����
809KB/2024-06-24
�鿴����
 Security Eye v4.6�ٷ���ʽ��