


- 热门下载
- 热门分类
- 热门合集

Adminer for MySQL
4.6.2官方正式版- 软件大小:0.83 MB
- 更新时间:2018-06-28
-
用户评分:

- 软件版本:4.6.2
- 软件语言:简体中文
- 系统类型:支持32/64位
- 软件授权:免费
- 下载次数:446次
- 杀毒检测:无插件360通过金山通过
- 运行系统:WinAll/WinXP/Win7
本地纯净下载
纯净官方版
为您推荐:
Adminer for MySQL
数据库类
软件简介
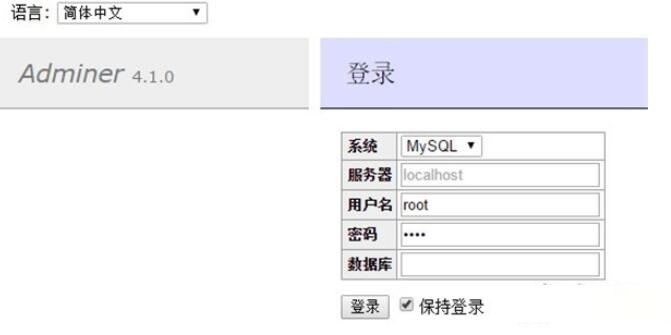
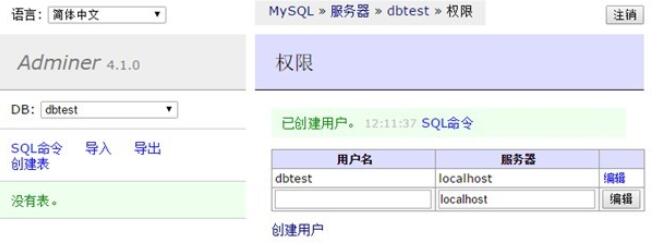
 Adminer for MySQL是一款无需安装可直接加载运行的mysql专用数据库管理工具。整个程序只有一个PHP文件,易于使用和安装,直接加载到页面即可使用,程序支持多国语言。
功能介绍
1.创建,修改,删除索引/外键/视图/存储过程和函数。
2.查询,合计,排序数据。
3.新增/修改/删除记录。
4.支持所有数据类型,包括大字段。
5.能够批量执行SQL语句。
6.支持将数据,表结构,视图导成SQL或CSV。
7.能够外键关联打印数据库概要。
8.能够查看进程和关闭进程。
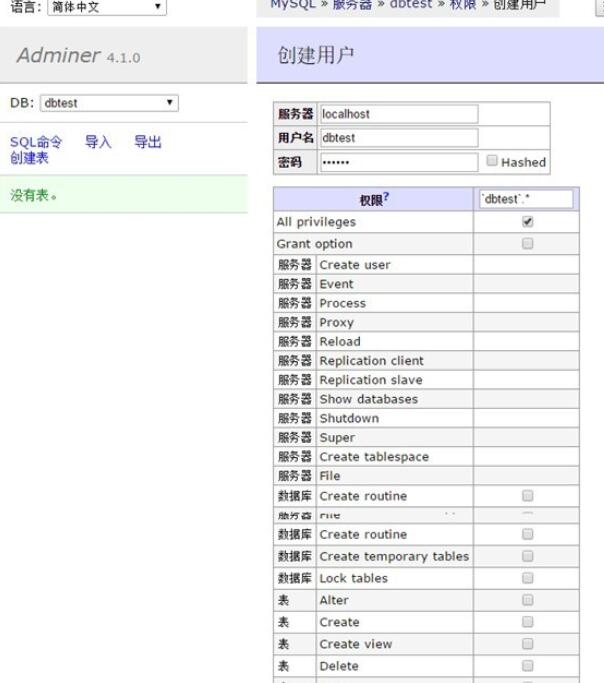
9.能够查看用户和权限并修改。
10.管理事件和表格分区(MySQL5.1才支持)。
Adminer for MySQL安装步骤
1.请先设置sql.php的数据库连接
2.到phpmyadmin 导入test.sql
3.导入完成后访问后台 admin/login.php
Adminer for MySQL官方电脑端更新日志
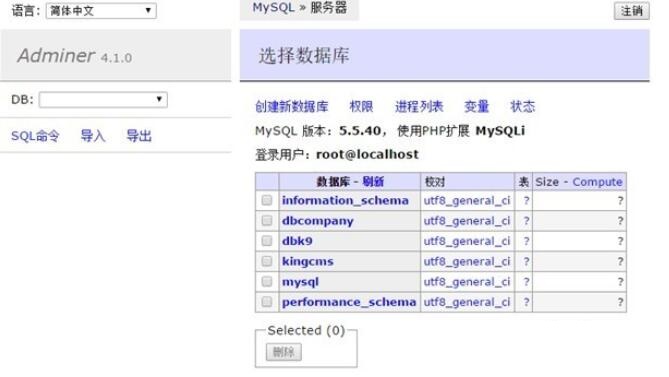
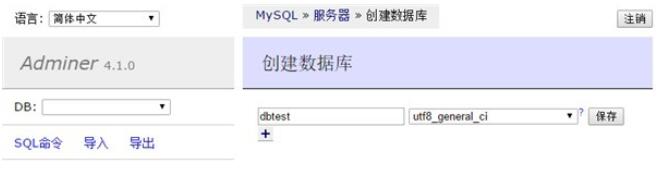
Adminer for MySQL官方电脑端使用方法

猜你喜欢
-
")
数据库转换工具(sqlitetomysql)
7.23 MB/2024-02-20
查看下载 -

phpMyAdmin
11.54MB/2023-06-02
查看下载 -

MySQL x32
169MB/2025-06-17
查看下载 -

MSDE企业管理查询分析器
15.99 MB/2024-04-01
查看下载 -

Microsoft .NET Framework 4.5客户端
982KB/2025-01-10
查看下载